
DIY charm necklace a creative journey into personalized jewelry !
Share
A DIY charm necklace is more than just an accessory—it's a personal expression of your style, emotions, and creativity. Creating your own charm necklace allows you to craft something unique that reflects your personality or commemorates special memories. Whether you're a seasoned jewelry maker or a beginner exploring the world of crafting, this guide will walk you through the process of creating a stunning and personalized charm necklace from start to finish.
Why Choose a DIY Charm Necklace?
The allure of a DIY charm necklace lies in its ability to be customized to match any style, occasion, or sentiment. Unlike mass-produced jewelry, a charm necklace you create yourself can carry deep personal meaning, whether it represents milestones in your life, a favorite hobby, or a special relationship. This hands-on approach not only provides a sense of accomplishment but also allows you to design a piece that is truly one-of-a-kind.
Personalized Touch for Every Occasion
One of the main reasons people opt for a DIY charm necklace is the opportunity to personalize it for different occasions. Whether you are making a necklace for yourself or as a gift for a loved one, the process is all about reflecting personal tastes and experiences. For instance, a DIY charm necklace could mark a birthday, anniversary, or any special event, with each charm representing a different aspect of that occasion. A thoughtful mix of meaningful charms can evoke memories and emotions, making the necklace more than just a piece of jewelry—it's a keepsake.
Therapeutic and Creative Outlet
Beyond the customization and sentimental value, creating your own jewelry can be an incredibly therapeutic activity. The act of stringing beads, choosing charms, and assembling your necklace can be meditative, offering a calming escape from daily stress. Additionally, crafting a DIY charm necklace lets your creativity flow freely, allowing you to experiment with different designs, colors, and textures, and ultimately create something beautiful and unique.
Materials You Will Need for Your DIY Charm Necklace
Before diving into the exciting world of jewelry making, it’s essential to gather all the necessary materials for your DIY charm necklace. The type of materials you choose will greatly influence the final look and feel of your necklace, so selecting the right components is key to your design.
Choosing the Right Chain for Your Necklace
The first decision you'll need to make is the type of chain you want to use. Chains come in various styles, such as cable chains, snake chains, or ball chains, each offering a different aesthetic. If you prefer a classic look, a delicate gold or silver chain might be ideal. However, if you are looking for something with a more rustic or bohemian flair, a leather cord or an antique-style chain could be more fitting.
Regardless of the chain you choose, make sure it’s durable enough to support the weight of the charms. Opt for a chain length that complements your style and the number of charms you plan to add.
Selecting Charms for Your Necklace
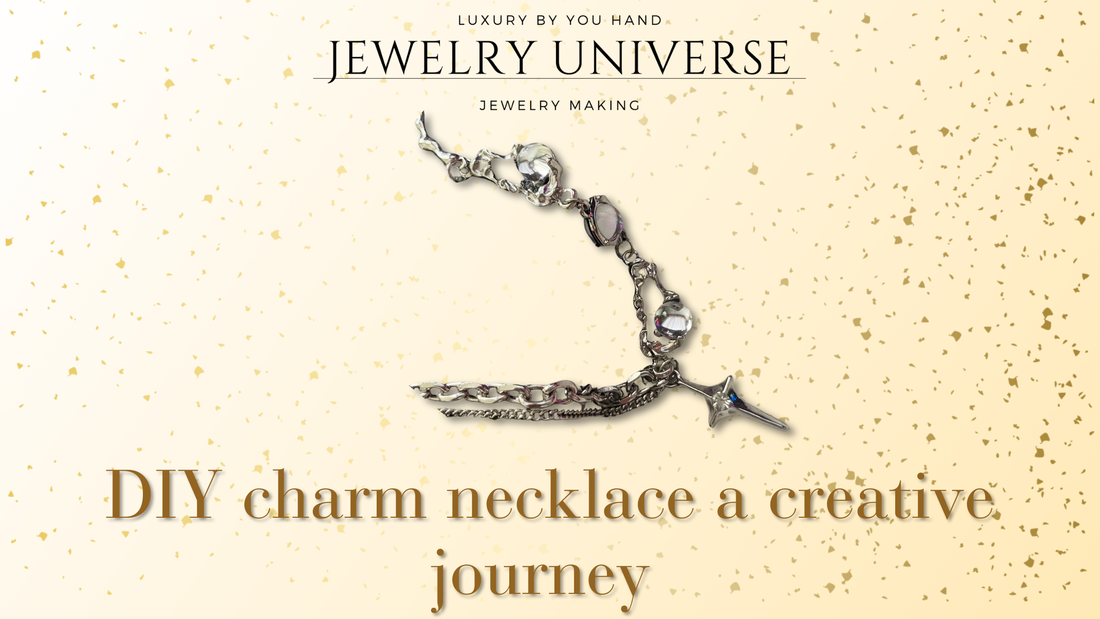
The charms are the focal point of your DIY charm necklace. They come in countless shapes, sizes, and materials, so your selection will reflect your personal taste. Charms can be symbolic, like hearts, stars, or animals, or they can represent specific interests such as travel, music, or hobbies.
If you want to add a more unique touch, consider incorporating handmade charms or charms that reflect your individual style, like those made from clay, beads, or crystals. Don’t forget to choose charms with different textures and finishes to create visual interest. A good balance of metal, glass, and enamel charms will ensure your necklace looks dynamic.
Tools to Assemble Your DIY Charm Necklace
To complete your DIY charm necklace, you will need some basic jewelry-making tools. These typically include jewelry pliers, wire cutters, jump rings, and a clasp. Jewelry pliers will help you manipulate wire, attach charms, and securely close jump rings. Wire cutters are essential for trimming excess wire, while jump rings are used to attach the charms to the chain.
Lastly, a clasp is necessary to secure the necklace around your neck. You can choose from lobster clasps, spring ring clasps, or toggle clasps, depending on your preference.
Step-by-Step Guide to Creating Your DIY Charm Necklace
Now that you’ve gathered all your materials, it’s time to get started on your DIY charm necklace. Follow these easy steps to create a personalized piece of jewelry that you’ll cherish.
Step 1: Plan Your Design
Before you start stringing beads or adding charms, it’s important to plan out your design. Think about the overall aesthetic you want to achieve—will your necklace be minimalistic or full of personality? Consider the type of charms you want to use and how they will fit together on the chain.
You can lay out your charms on a flat surface to get an idea of how they’ll look before permanently attaching them. This step also allows you to experiment with different charm combinations and placements, ensuring your necklace is balanced and visually appealing.
Step 2: Prepare the Chain
Once you’ve finalized your design, it’s time to prepare the chain. If necessary, cut the chain to the desired length using wire cutters. Ensure that it’s long enough to sit comfortably on your neck, but not too long that it overpowers the charms.
If your chain has any sharp edges from cutting, use your pliers to smooth them out, ensuring that it doesn’t catch on your skin or clothing.
Step 3: Attach the Charms
Now comes the fun part: attaching the charms to the chain. To do this, use jump rings to connect each charm to the chain. Open the jump ring with your jewelry pliers, slide the charm onto the ring, and then close it securely.
Make sure that the charms are evenly spaced and securely attached to avoid them shifting or falling off. If your design involves a mixture of smaller and larger charms, you can vary the placement for added dimension. The key is to keep the design cohesive, whether you opt for a symmetrical look or a more free-spirited arrangement.
Step 4: Add the Clasp
To finish your DIY charm necklace, attach the clasp. This will allow you to easily fasten and unfasten the necklace. Use your pliers to attach the clasp to one end of the chain, ensuring it’s firmly secured. You can also add a small extension chain to the other end of the necklace for adjustable length.
Test the clasp to ensure it works smoothly and holds the necklace securely around your neck.
Tips for Enhancing Your DIY Charm Necklace
To elevate your DIY charm necklace, consider adding a few personal touches that will make it even more special. Adding additional elements such as small beads or crystals can add sparkle and dimension to your design. You might also experiment with layering multiple charm necklaces for a trendy, stacked look.
Experiment with Colors and Textures
Incorporating a variety of colors and textures will make your charm necklace stand out. Try adding colorful beads or selecting charms with different finishes, such as matte, shiny, or hammered metal. Mixing textures can create visual interest and enhance the overall aesthetic of your necklace.
Incorporate Meaningful Elements
Another way to enhance your DIY charm necklace is by including charms that hold personal significance. For example, a heart charm could represent love, a star charm could symbolize dreams, or a travel charm could commemorate an unforgettable trip. By choosing elements that resonate with you, your necklace will carry even more meaning.
Conclusion: A Unique and Personal Jewelry Piece
Creating a DIY charm necklace allows you to express your individuality through personalized design, while also offering a satisfying and therapeutic crafting experience. Whether you're making it for yourself or as a thoughtful gift for someone special, your charm necklace will be a beautiful and meaningful accessory that you can wear for years to come. By following these steps and embracing your creativity, you'll craft a unique piece that’s as stylish as it is sentimental.