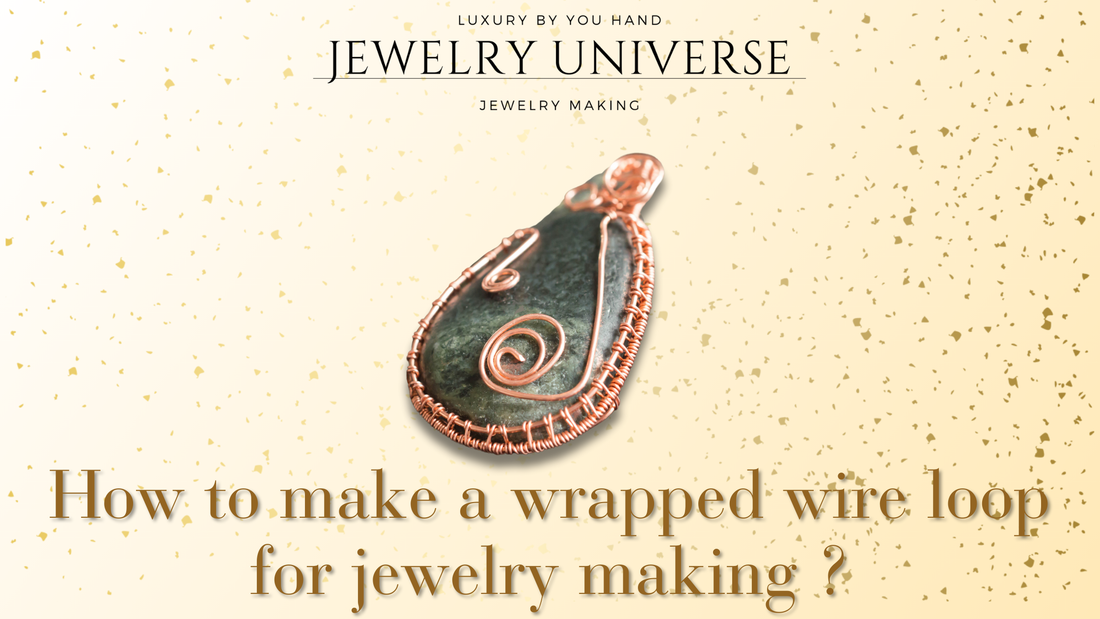
How to make a wrapped wire loop for jewelry making ?
Share
Creating jewelry is both an art and a science, and mastering the wrapped wire loop is a fundamental skill for anyone interested in crafting their own pieces. This versatile technique forms the basis for countless jewelry designs, from earrings to necklaces. Whether you’re a beginner or looking to refine your skills, this comprehensive guide will walk you through the tools, techniques, and applications of making wrapped wire loops.
Benefits of mastering the wrapped wire loop
Why the wrapped wire loop is essential
The wrapped wire loop is a durable and aesthetically pleasing way to secure beads, pendants, or charms. Its versatility makes it a cornerstone in jewelry making for the following reasons:
- Strength: The wrapping provides extra security, ensuring the loop won’t easily come undone.
- Versatility: It works for a variety of projects, from earrings to multi-strand necklaces.
- Professional finish: This technique adds a polished look to handmade jewelry.
Tools and materials needed
Essential tools
Before starting, gather these basic tools:
- Round-nose pliers: Ideal for shaping loops.
- Flat-nose pliers: Helps secure the wire wraps.
- Wire cutters: For cutting the wire cleanly.
Choosing the right wire
Not all wires are created equal. Select the appropriate type based on your project:
- Gauge: For wrapped wire loops, use 20–24 gauge wire for a balance of flexibility and durability.
- Material: Copper, sterling silver, or gold-filled wires are popular options.
Pro tip: Softer wires like dead-soft are easier to manipulate, making them ideal for beginners.
Step-by-step guide: How to make a wrapped wire loop
Preparing your materials
- Cut the wire: Start by cutting a piece of wire approximately 4–6 inches long. This allows enough length for wrapping and creating the loop.
- Add the bead: Slide your chosen bead onto the wire and position it in the center.
Creating the loop
Step 1: Forming the base loop
- Use round-nose pliers to grip the wire about 1 inch above the bead.
- Bend the wire around one jaw of the pliers to create a small loop.
- Adjust the size of the loop to fit your project needs.
Step 2: Wrapping the wire
- Hold the loop with flat-nose pliers.
- Wrap the short end of the wire tightly around the base wire 2–3 times, securing the loop in place.
- Use wire cutters to trim any excess wire.
Tip: For a neat finish, press the trimmed end with flat-nose pliers to prevent sharp edges.
Securing multiple loops
For designs requiring multiple loops (e.g., linked beads):
- Repeat the above steps for each bead.
- Connect each wrapped loop before completing the wrap to ensure secure links.
Common mistakes and how to avoid them
Uneven loops
- Problem: The loops may not be uniform in size or shape.
- Solution: Mark your round-nose pliers with a permanent marker to maintain consistent loop sizes.
Loose wraps
- Problem: The wire wraps are loose or uneven.
- Solution: Use flat-nose pliers to tighten and align the wraps.
Applications of wrapped wire loops in jewelry
Earrings
Wrapped wire loops are commonly used to create dangling earrings. Pair beads with decorative charms for unique designs.
Ideas for earrings
- Single-bead drops.
- Multi-bead chandelier styles.
Necklaces and bracelets
This technique is perfect for connecting beads in necklaces or bracelets, adding both strength and style.
Design inspiration
- Mixed gemstone bead chains.
- Wire-wrapped focal pendants.
Advanced techniques to elevate your loops
Double-wrapped loops
For added durability, try double-wrapping the wire for an intricate look. This technique works well for heavier beads or larger designs.
Adding decorative coils
- Create a coiled effect by wrapping the wire multiple times around the base.
- This adds a decorative touch and extra stability.
Tips for perfecting your technique
Practice makes perfect
As with any skill, practice is key. Start with inexpensive wire to refine your technique before working with precious metals.
Organize your workspace
A well-organized workspace enhances your efficiency. Use labeled containers for beads and dedicated tools for wirework.
Best online resources to learn wrapped wire loops
Tutorials and courses
Beginner-friendly options
- YouTube: Free video tutorials provide step-by-step guidance.
- Skillshare: Offers detailed classes for wire wrapping techniques.
Advanced learning
- Online workshops with professional jewelers.
- Books focused on wirework and bead design.
How to care for your wire-wrapped jewelry
Cleaning and maintenance
- Use a soft cloth to clean wire-wrapped pieces regularly.
- Avoid exposure to moisture or chemicals to prevent tarnishing.
Storage tips
- Store wrapped jewelry in individual pouches to avoid tangling or scratching.
- Keep in a dry, cool place to maintain the wire’s integrity.
Selling your wire-wrapped jewelry
Marketing your designs
- Use social media platforms like Instagram to showcase your creations.
- Highlight the craftsmanship involved in your designs to attract buyers.
Pricing tips
- Factor in the cost of materials and the time spent creating each piece.
- Research similar products to ensure competitive pricing.
Mastering the wrapped wire loop is an essential skill for any jewelry maker, offering endless possibilities to create stunning, professional-quality designs. By following this guide, you can perfect your technique and use it in various applications, from simple earrings to intricate necklaces. With patience and practice, the art of wire wrapping will become a valuable part of your jewelry-making repertoire.
