
How to make an elegant and practical jewelry box ?
Share
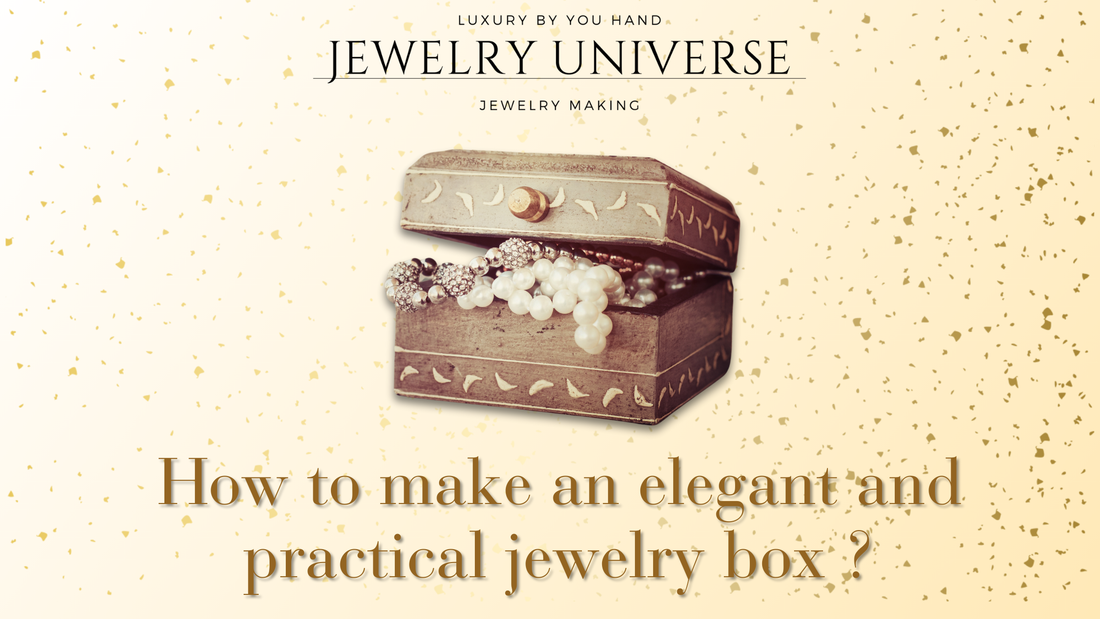
A jewelry box is more than just a storage container; it is a personal treasure chest that keeps your valuable and sentimental pieces safe and organized. Whether you want to create a jewelry box as a gift, a personal craft project, or to start a small business, making one yourself allows you to design it according to your needs and aesthetic preferences.
From choosing materials to assembling compartments, this guide will walk you through the step-by-step process of making a beautiful and functional jewelry box. Whether you're a beginner or an experienced woodworker, you’ll find valuable tips to create a durable and stylish piece.
Planning Your Jewelry Box Design
Before you start crafting, it’s essential to plan your jewelry box’s design. Consider the following factors:
1.1. Purpose and Size
- Do you need a compact box for a few rings and earrings, or a larger box for necklaces, bracelets, and multiple compartments?
- Will the jewelry box be used for home storage or as a travel case?
1.2. Material Selection
Jewelry boxes can be made from various materials, such as:
- Wood: Popular choices include oak, walnut, mahogany, or plywood for a sturdy and elegant box.
- Cardboard: A budget-friendly option for lightweight jewelry boxes.
- Acrylic or Glass: Offers a modern, transparent look for display purposes.
- Fabric or Leather: Often used to cover a wooden or cardboard base for a luxurious feel.
1.3. Interior Layout
Think about how you want to organize your jewelry. Common compartments include:
- Ring slots: Soft cushions or foam to securely hold rings.
- Earring holders: Padded inserts or small compartments.
- Necklace hooks: Small hooks to prevent tangling.
- Drawers: Sliding sections for additional storage.
1.4. Additional Features
You can add extra features like:
- A mirror inside the lid.
- A locking mechanism for security.
- Engravings or decorative elements to personalize your design.
Gathering Materials and Tools
Once you finalize your design, gather the necessary materials and tools.
2.1. Materials Needed
- Wood panels or plywood (for a wooden jewelry box).
- Hinges for the lid.
- Soft fabric or felt for lining the interior.
- Foam or padded inserts for ring slots.
- Wood glue or strong adhesive for assembling parts.
- Sandpaper to smooth surfaces.
- Paint, varnish, or stain for finishing touches.
2.2. Tools Required
- Saw (hand saw or electric saw) to cut wood panels.
- Drill for making holes (if adding hinges or screws).
- Hammer and nails for assembling the box.
- Screwdriver to attach hinges and locks.
- Measuring tape and ruler for precise measurements.
Step-by-Step Process of Making a Jewelry Box
Step 1: Cutting the Wood Pieces
If making a wooden jewelry box, measure and cut the wood pieces according to your chosen size. You will need:
- A base
- Four side panels
- A lid
Ensure the edges are even and sand them smooth to avoid splinters.
Step 2: Assembling the Box
- Apply wood glue to the edges of the panels and press them together.
- Use clamps to hold them in place while the glue dries.
- Reinforce the joints with small nails or screws for extra durability.
Step 3: Attaching the Lid
- Position the hinges at the back of the box.
- Use a drill to secure them with screws, ensuring the lid opens smoothly.
Step 4: Adding Compartments
- Cut and attach small dividers inside the box using wood glue or screws.
- For ring slots, roll pieces of foam or felt and fit them into a section of the box.
Step 5: Lining the Interior
- Cut soft fabric or felt to fit inside the box.
- Use adhesive to secure the fabric, ensuring a smooth and elegant finish.
Step 6: Decorating the Jewelry Box
- Sand the exterior again for a polished look.
- Apply paint, stain, or varnish for a stylish finish.
- Add embellishments like carvings, gemstones, or engravings.
Customizing Your Jewelry Box
Once the basic structure is complete, you can personalize your jewelry box further.
4.1. Adding Personal Touches
- Paint designs or patterns on the exterior.
- Engrave initials or meaningful symbols.
- Attach decorative handles or knobs.
4.2. Creating a Multi-Layered Jewelry Box
- Add removable trays for extra storage.
- Install small drawers with knobs or slides.
4.3. Using Recycled or Upcycled Materials
- Old wooden boxes, cigar boxes, or shoeboxes can be repurposed into unique jewelry boxes.
- Fabric scraps and beads can be used for decoration.
Maintaining and Caring for Your Jewelry Box
To keep your handmade jewelry box in excellent condition:
5.1. Cleaning and Polishing
- Wipe the exterior with a soft cloth regularly.
- Use wood polish for wooden boxes.
- For fabric-lined interiors, use a small vacuum or lint roller.
5.2. Preventing Damage
- Avoid placing the box in direct sunlight to prevent fading.
- Keep it in a dry area to prevent moisture damage.
Alternative Jewelry Box Ideas
If you want to explore other styles of jewelry boxes, consider these creative alternatives:
6.1. DIY Cardboard Jewelry Box
A simple and budget-friendly option, using sturdy cardboard, glue, and decorative paper to create a functional jewelry box.
6.2. Glass and Acrylic Jewelry Box
For a modern look, clear acrylic sheets or small glass panels can be assembled with metal or wooden frames.
6.3. Jewelry Box with LED Lights
Installing small LED lights inside the jewelry box adds a luxurious touch and makes it easier to find items.
Making a jewelry box is a rewarding DIY project that allows you to create a personalized storage solution for your treasured accessories. Whether you opt for a simple wooden design or an elaborate, multi-layered box with compartments and embellishments, the effort you put into crafting your jewelry box will make it truly unique.
By carefully selecting materials, planning the layout, and adding creative touches, you can design a jewelry box that reflects your style and needs. Whether as a handmade gift or a project for personal use, a well-crafted jewelry box will not only protect and organize your jewelry but also serve as a timeless keepsake for years to come.