
Setting a cabochon for jewelry making
Share
Cabochon settings are a fundamental technique in jewelry making, used to securely hold and showcase smooth, domed gemstones. Unlike faceted stones, cabochons do not have angles or facets to reflect light, making their beauty dependent on color, pattern, and polish. Properly setting a cabochon requires precision, skill, and the right tools.
In this comprehensive guide, we will explore the different methods of setting a cabochon, the tools and materials needed, step-by-step instructions, and tips for achieving professional-quality results.
Understanding Cabochon Settings
What Is a Cabochon?
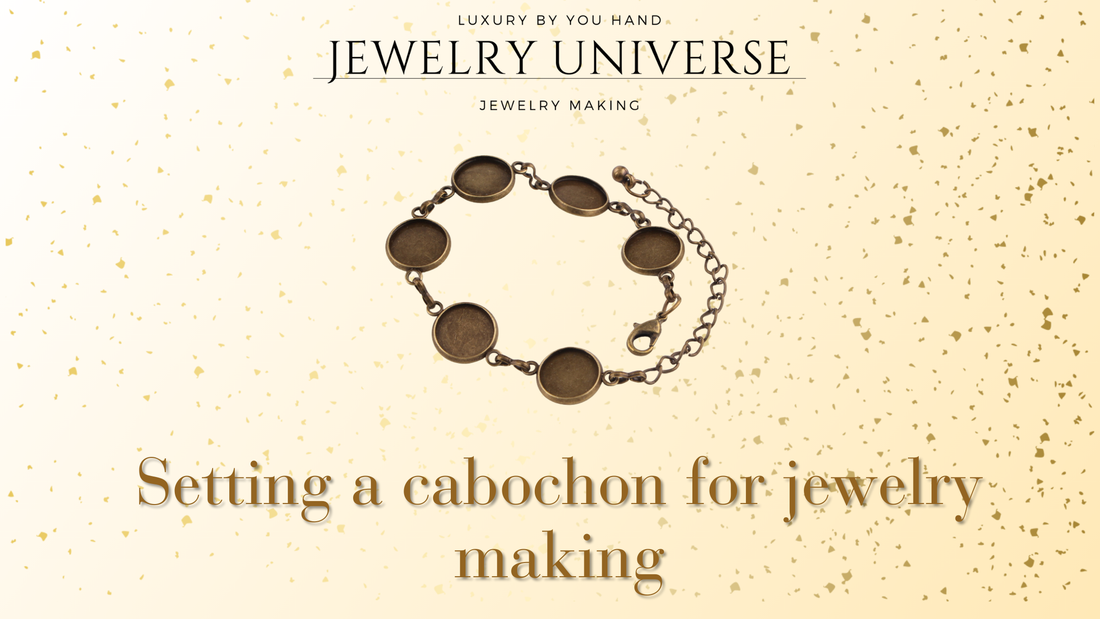
A cabochon is a gemstone that has been shaped and polished rather than faceted. The most common shape is an oval, but cabochons can also be round, teardrop, or custom shapes. Popular gemstones for cabochons include turquoise, opal, moonstone, and labradorite.
Types of Cabochon Settings
There are several methods for setting a cabochon, each offering a unique look and level of security:
-
Bezel Setting – The most common and secure setting, where a metal strip wraps around the stone and is pushed over the edges.
-
Prong Setting – Uses small metal prongs to hold the cabochon in place, offering a more open and delicate appearance.
-
Wire Wrapping – Involves wrapping wire around the stone to secure it without using soldering or adhesives.
-
Glue-on Settings – A simple method where the cabochon is glued onto a metal or base setting.
-
Channel or Flush Setting – Less common for cabochons, this technique involves setting the stone into a recessed groove within the metal.
Tools and Materials Needed
Before beginning, gather the necessary tools and materials for a successful cabochon setting:
Essential Tools:
-
Jeweler’s Saw – For cutting metal bezel strips.
-
Bezel Pusher & Burnisher – To press and smooth the bezel over the stone.
-
Files & Sandpaper – For refining the bezel edges and base.
-
Soldering Kit – If making a custom bezel.
-
Jeweler’s Pliers – For shaping and securing prong or wire settings.
-
Adhesive (Jewelry Epoxy or E6000) – For glue-on settings.
-
Ring Clamp or Bench Pin – To hold the piece securely while working.
Materials:
-
Cabochon Stone – The chosen gemstone.
-
Bezel Wire or Sheet – For bezel settings.
-
Metal Base (Silver, Gold, Copper, or Brass) – To attach the bezel or stone.
-
Flux and Solder – If soldering a custom bezel setting.
-
Polishing Cloth & Compound – To finish the piece after setting.
Step-by-Step Guide to Setting a Cabochon
1. Preparing the Bezel
For a bezel setting, follow these steps:
-
Measure the Cabochon: Wrap bezel wire around the cabochon to determine the correct length.
-
Cut the Bezel Wire: Use a jeweler’s saw to cut the wire precisely.
-
Shape the Bezel: Wrap the cut wire around the stone and ensure a snug fit.
-
Solder the Bezel: If making a custom bezel, solder the ends together using flux and solder.
-
Attach to a Base: Solder the bezel onto a metal sheet to create the setting.
2. Placing the Cabochon
-
Check the Fit: Ensure the cabochon sits properly within the bezel.
-
Adjust if Necessary: File or sand any rough edges.
3. Securing the Cabochon
-
Use a Bezel Pusher: Carefully push the metal bezel over the edges of the cabochon.
-
Smooth with a Burnisher: Glide the burnisher along the bezel edge to smooth and secure it.
4. Finishing Touches
-
Polish the Setting: Use a polishing cloth and compound to remove scratches and enhance shine.
-
Inspect for Security: Ensure the cabochon is firmly in place and not loose.
Tips for a Professional Finish
-
Use the Right Metal Thickness: A thin bezel is easier to push but may be less durable, while a thick bezel requires more effort to set but offers better security.
-
Avoid Over-Pushing: Too much force can crack fragile cabochons like opal and turquoise.
-
Polish Before Setting: Polish the bezel and base before inserting the stone to prevent accidental scratches.
-
Practice on Scrap Metal: If you’re new to bezel setting, practice on copper or brass before working with precious metals.
Troubleshooting Common Issues
-
Bezel is Too Loose: If the bezel does not hold the cabochon securely, try re-soldering with a tighter fit or adding an inner rim.
-
Bezel is Too Tight: If the cabochon doesn’t fit, carefully sand the bezel interior or adjust the metal shape.
-
Stone Moves After Setting: This can happen if the bezel wasn’t pushed evenly. Use a burnisher to tighten the edges.
Alternative Cabochon Setting Techniques
Prong Setting
-
Prepare the Base: Drill small holes for prongs in the metal backing.
-
Attach Prongs: Use soldering or pre-made settings.
-
Secure the Stone: Bend the prongs over the cabochon using pliers.
Wire Wrapping
-
Choose Wire Gauge: Typically, 20-24 gauge wire works well.
-
Wrap the Stone: Use a combination of wrapping and weaving techniques to secure the cabochon.
-
Form a Bail: Create a loop at the top for attaching to a chain or cord.
Glue-On Setting
-
Choose a Strong Adhesive: Use epoxy or jewelry glue for durability.
-
Apply Evenly: Place a small amount on the back of the cabochon and press onto the metal base.
-
Let It Cure: Allow sufficient drying time according to the adhesive instructions.
Setting a cabochon is a valuable skill for any jeweler, offering endless creative possibilities. Whether using a bezel, prongs, or wire wrapping, mastering these techniques ensures secure and visually appealing jewelry pieces. With the right tools, patience, and practice, you can create stunning cabochon-set jewelry that highlights the natural beauty of gemstones.
By following these steps and refining your technique, you’ll be able to produce professional-quality cabochon settings that stand out in any collection.