
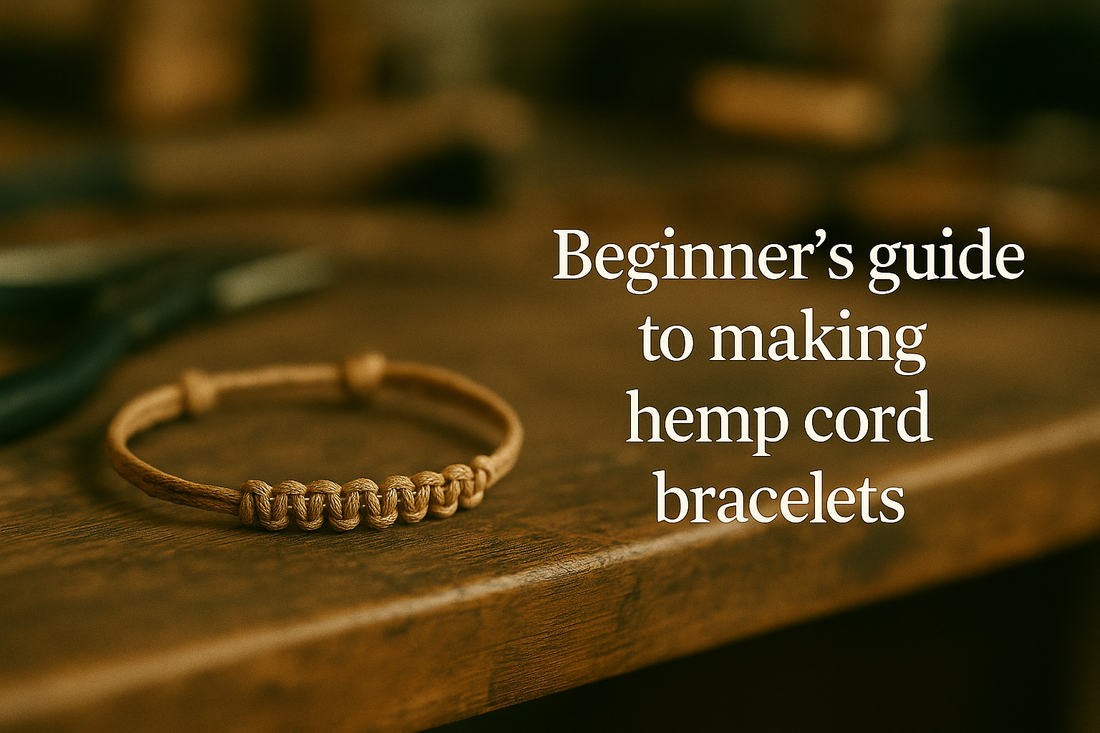
Beginner's guide to making hemp cord bracelets
This tutorial teaches you how to craft durable hemp cord bracelets with clean knots, consistent tension, and adjustable closures.
You will learn hemp basics, cord sizing, surface preparation, core macramé knots, pattern building, color changes, bead integration, finishing methods, and troubleshooting. Three inline diagrams illustrate the core steps so you can follow along without external images.
Understand hemp cord and why it works well for bracelets
Hemp is a plant-based, bast fiber cord that grips itself while knotting, creating stable macramé structures. It softens with wear, resists stretching compared to synthetic cords, and holds knots without glue when finished properly. Beginners appreciate hemp because it provides tactile feedback: if tension is uneven, the braid feels lumpy, prompting you to adjust quickly.
Hemp cord characteristics that affect knotting
- Texture and tooth: the slightly rough surface locks knots securely.
- Minimal stretch: patterns maintain shape across seasons and humidity.
- Natural variability: small diameter shifts between lots; measure before starting a series.
- Color options: undyed tan for a classic look or colorfast dyed cords for patterns.
Tools and materials you actually need
Keep setup simple and reliable. You can upgrade later, but this baseline kit supports most bracelet styles from flat macramé to simple braids.
Checklist
- Hemp cord spools (0.5 mm, 0.8 mm, 1.0 mm)
- Cork board or clipboard, masking tape, or T-pins
- Ruler or measuring tape and a fine marker or pencil
- Sharp scissors or thread snips
- Optional: beads with smooth holes (metal, wood, glass), collapsible-eye beading needle
- Optional: a drop of flexible glue for the very last tail if you expect heavy wear
Recommended cord sizes by bead type
| Hemp diameter | Best use | Notes |
|---|---|---|
| ~0.5 mm | Delicate macramé, seed beads | Finicky to handle; great for slim stacks |
| ~0.8 mm | General purpose bracelets | Balances speed, durability, and comfort |
| ~1.0 mm | Chunky styles, large-hole beads | Bold lines; test bead holes first |
Planning and measuring for a comfortable fit
Accurate measuring prevents tight spots at the clasp and eliminates slack that can catch on clothing. Decide between a fixed-size bracelet with a button closure or an adjustable sliding knot. This tutorial covers both; beginners often start with a sliding closure because it forgives minor measuring errors.
How to measure the wrist and calculate cord lengths
- Wrap a flexible tape around the wrist bone; record the circumference.
- For a snug macramé band, add 0.5–1.0 cm to the measured wrist for the finished inner circumference.
- Cut working cords at 6–8× the finished length (macramé consumes cord), and cut core cords at 1.5–2× the finished length.
Quick sizing reference
| Wrist size | Finished inner circumference | Typical band width (0.8 mm hemp) |
|---|---|---|
| 14–15 cm | 15–16 cm | 6–8 mm |
| 16–17 cm | 16.5–18 cm | 7–10 mm |
| 18–19 cm | 19–20 cm | 8–12 mm |
Prepare your cords and workspace
Preparation prevents mid-project headaches. Hemp fibers can fuzz if dragged repeatedly across sharp edges, so keep a smooth work surface and handle tails deliberately.
Preparation steps
- Cut clean lengths: avoid crushing the ends; a crisp cut helps threading through beads.
- Condition lightly: pinch each cord with a damp cloth and pull gently to relax twists; let dry flat.
- Secure to the board: tape or pin the core cords vertically; clip the top ends of working cords so they hang to either side.
- Mark guide points: place small marks every 2 cm alongside the core to track progress and pattern symmetry.
Common setup mistakes
- Pinning too close to the knotting area, which frays fibers—leave at least 1 cm margin.
- Unequal cord lengths left and right; check before starting to avoid running out on one side.
- Working under harsh lighting that hides fuzzy strands—soft, even light reveals tension issues early.
Learn the essential knots for hemp bracelets
Three knots handle most beginner bracelets: the square knot for flat bands, the half hitch for spirals, and the overhand knot for anchors and bead spacing. Practice each on scrap cord before the real piece.
Square knot for flat macramé bands
- Place the left working cord over the core cords to form a “4”.
- Bring the right working cord over the tail of the left, then behind the core, and up through the left-side loop; pull snug.
- Repeat mirrored (start with the right cord forming a backward “4”).
- Alternate sides consistently to keep the band flat and even.
Half-hitch spiral
- Wrap the left working cord over and around the core, coming back through its own loop.
- Pull snug and repeat on the same side to create a spiral ridge.
- To tighten the spiral, keep tension constant and compress knots gently with your fingernails.
Overhand knot uses
- Create a stopper before a bead to keep spacing predictable.
- Anchor bundle ends temporarily while checking fit.
- Form the adjustable sliding knot casing (covered later).
Project 1: flat hemp macramé bracelet with optional beads
This classic bracelet uses two core cords and two working cords in square knots. It lies flat on the wrist, accepts small beads, and finishes with either a button and loop or a sliding knot.
Cut list
- Core cords (2): each 60 cm
- Working cords (2): each 250–300 cm for a standard adult size
Step-by-step
- Anchor the cores: tape both cores vertically to the board with 15 cm of tail at the top for later finishing.
- Attach working cords: use a lark’s head knot at the top so the working strands hang left and right.
- Build the band: tie square knots for 3–4 cm, keeping the center straight by compressing each knot with your thumbs.
- Add beads (optional): slide a bead onto both core cords, tie one full square knot beneath it to lock it in place; repeat every 1–2 cm.
- Continue until length target: measure against your plan; stop 1 cm short if you’ll use a button closure.
Keeping tension consistent
- Knot at the same angle each time; imagine pulling toward the board center, not outward.
- If a knot bulges, undo immediately and re-tie; hemp tolerates one redo without visible wear.
- Every 2 cm, slide your thumbnails along the edges to square the band and seat the knots.
Common errors and fixes
| Symptom | Cause | Fix |
|---|---|---|
| Band curves left or right | Uneven pull between sides | Alternate the starting side precisely; check arrow sequence |
| Beads tilt | Bead hole too big or loose tension | Add an overhand stopper above and below; choose tighter holes |
| Fuzzy edges | Dragging cord under tape or nails | Lift slightly while tightening; trim only at the end |
Project 2: spiral hemp bracelet using half hitches
The spiral bracelet is quick and forgiving. Because all knots originate on the same side, the cord twists into a rope-like helix. This pattern looks great plain or with occasional bead accents.
Cut list
- Core cords (2): 50 cm each
- Working cord (1 long): 250 cm
Step-by-step
- Attach the long working cord to the top with a lark’s head knot so both tails are equal.
- Choose one side (left) and tie a half hitch around the cores; pull snug.
- Repeat half hitches from the same side for the entire length; the spiral will naturally form.
- For bead accents, thread a bead on the core, snug against the last knot, and continue knotting below it.
Uniform spiral tips
- Count the number of half hitches per turn and maintain it, usually 6–8 hitches.
- If the helix flattens, your tension is alternating—recommit to the same side.
- Steam lightly at the end (not soaking wet) to relax any tight kinks, then let dry flat.
Finishing methods: loop-and-button vs adjustable sliding knot
Beginners often prefer the adjustable sliding knot because it fits various wrists and requires no hardware. A loop-and-button closure looks crisp and is ideal for fixed-size gifts. Choose one finish per project or try both to learn the differences.
Loop-and-button closure
- At the start of the bracelet, create a 1–1.5 cm square-knot chain; this becomes the button loop.
- Form a small loop and macramé around it with 2–3 knots to lock the loop size.
- Finish the band; at the end, thread a flat button onto the core tails and tie multiple overhand knots under it to secure.
- Hide working tails by weaving them back under the last 1–2 cm of knots; trim flush.
Adjustable sliding knot closure
- End the bracelet leaving 6–8 cm of bare tails on each side; cross the tails so they overlap 2–3 cm.
- Cut a 15–20 cm separate cord; treat the crossed tails as a new “core” and tie 6–10 square knots around them, creating a sliding sleeve.
- Test movement: both bracelet tails should slide smoothly through the sleeve to adjust size.
- Tie a stopper knot at each tail end (small overhand) and trim excess to 3–4 mm.
Neat finishing and tail management
Clean tails make a beginner bracelet look professional. Hemp fibers taper nicely, but fray if clipped too short. Follow these steps for tidy ends that hold up during use.
Tail finishing sequence
- Weave each tail back under two or three knots using a blunt needle or the tip of your snips.
- Trim at a shallow angle so the cut end nestles under the braid.
- Optionally dab the end with a tiny amount of flexible adhesive; press for ten seconds and let cure flat for an hour.
Edge smoothing tricks
- Rub the edges lightly with a scrap of clean beeswax or a dry bar of soap to tame fuzz.
- Roll the finished band between your palms to even out tension and soften the feel.
Integrating beads and charms without weakening the bracelet
Beads add focus and weight; poorly chosen beads add abrasion. Choose smooth, well-finished holes and test fit with scrap cord first. For smaller hemp diameters, a collapsible-eye needle speeds installation.
Bead placement strategies
- Center focal: place a single bead between square knots and lock with one full knot pair beneath.
- Patterned intervals: every 1–2 cm, repeat a bead sequence to aid counting and symmetry.
- Edge beading: thread small seed beads on the working cords before knotting; slide one into each knot for a dotted edge.
Preventing abrasion
- Inspect holes; if they scratch the cord, ream gently with a bead reamer or switch beads.
- Avoid sharp metal edges or cracked glass; hemp will catch and fuzz quickly.
- Use spacer beads between heavy stones to distribute weight along the band.
Pattern variations to practice after your first bracelet
Once you master tension and closures, try these accessible variations that reuse the same knot vocabulary.
Flat-and-spiral hybrid
- Start with 3 cm of square knots for a stable base.
- Switch to 4–5 turns of left half hitches for a spiral ridge.
- Alternate sections to create stripes of texture across the band.
Three-cord braid
- Use three equal cords; tie an overhand knot at the top and secure.
- Braid in a simple left-over-center, right-over-center rhythm; keep even tension.
- Finish with a sliding knot assembled onto the two outer tails; the middle tail becomes decoration with a bead.
Chevron macramé
- Double the number of working cords to four; work mirror-image square knots toward the center.
- Insert a tiny bead at the point of each chevron for a crisp line.
- Track rows with a pencil mark on the board so both sides match.
Quality control: test and adjust before wearing
Testing catches small errors while they’re still easy to correct. Hemp tightens slightly during the first day of wear; account for that by aiming for a snug-but-not-tight fit on the board.
Quick tests
- Flex test: bend the band around two fingers; it should curve smoothly without gaps between knots.
- Slide test: if using a sliding closure, open and close ten times; the sleeve should not seize.
- Snag test: drag the bracelet lightly across a cotton towel; if fibers snag, trim or wax lightly.
Troubleshooting and repairs
Even careful makers encounter uneven tension or a tail that’s suddenly too short. Here’s how to recover without restarting.
Uneven width along the band
- Compress knots with your thumbnails; hemp’s tooth allows micro-adjustments after the fact.
- If a segment is visibly wider, unpick 2–3 knots, reset tension, and re-tie while counting pulls aloud.
Short working cord near the end
- Cut a new working cord 60–80 cm.
- Splice by laying the new cord alongside the short tail and tying two snug square knots incorporating both; trim the old tail later under the braid.
Loose sliding knot
- Add two more square knots to the sleeve.
- If the sleeve still slips, your sleeve cord is too waxy; replace with the same hemp used for the band.
Care and maintenance for long-lasting hemp bracelets
Hemp softens with wear and can absorb water. While it’s resilient, a few habits maintain the bracelet’s look for months of daily use.
Care tips
- Remove before showering or swimming; repeated soaking loosens some knots.
- Dry flat if wet; reshape the band gently with your fingers.
- Trim fuzz with sharp scissors—never burn hemp ends.
Periodic checkup
- Inspect the sliding sleeve; add a knot pair if it loosens over time.
- Check beads for sharp chips and replace if they start to abrade fibers.
Practice schedule: build skill through short, focused sessions
Skill grows fastest with brief repetitions rather than marathon sessions. This schedule introduces variety while reinforcing core moves.
One-week practice plan
| Day | Focus | Outcome |
|---|---|---|
| 1 | Square knots only, 10 cm band | Consistent tension and straight edges |
| 2 | Half hitches, 10 cm spiral | Uniform helix and pacing |
| 3 | Sliding knot closures | Sleeve that glides without snagging |
| 4 | Bead integration | Center focal with lock knots |
| 5 | Hybrid band (flat + spiral) | Clean transitions between textures |
| 6 | Button-and-loop closure | Fixed-size gift-ready bracelet |
| 7 | Finish a full bracelet start to end | Confidence and repeatable workflow |
Safety and comfort considerations
Natural cords are generally skin-friendly, but finishes and beads can introduce irritation. Keep comfort in mind during each step.
Comfort checks
- Ensure no wire or metal edges remain uncovered if you mix materials.
- Round off sharp bead edges with fine sandpaper on wood beads.
- If sensitive to dyes, choose undyed hemp or pre-wash dyed cords in cool water and dry completely before use.
Complete step-by-step summary: from setup to wear
- Measure the wrist and plan the closure style.
- Cut core and working cords; condition lightly and secure to a board.
- Practice three knots—square, half hitch, overhand—on scrap.
- Knot the chosen pattern, compressing each row for even tension.
- Add beads thoughtfully, locking them in place with a knot pair.
- Finish with either loop-and-button or a sliding knot sleeve.
- Weave tails under, trim at an angle, and optionally touch with flexible adhesive.
- Test flex, slide, and snag; adjust before first wear.
Appendix: quick-reference knot glossary for hemp bracelets
| Knot | Use | How to remember | Beginner tip |
|---|---|---|---|
| Square knot | Flat bands, stable structure | “Left 4, right weaves; then mirror” | Count pairs, not single knots, for length |
| Half hitch | Spiral patterns, edging | “Same side, same motion” | Keep angle constant for even helix |
| Overhand | Stoppers, temporary holds | “Loop, through, pull” | Moisten slightly to seat cleanly |
| Lark’s head | Attaching working cords to the core | “Fold and hook, then tighten” | Center carefully to avoid drifting |
Frequently asked how-to questions
How tight should I pull each square knot?
Tighten until the sides meet snugly without warping the core. If the band looks corrugated, you are over-tightening; if gaps appear between rows, you are under-tightening. Aim for a smooth, brick-like surface when viewed from the side.
What if my hemp cord keeps fraying during knotting?
Fraying indicates abrasion. Raise the work slightly when tightening to avoid scraping across the board; reduce tape stickiness by pressing it on fabric first; and keep snips sharp for clean cuts.
Can I wash a hemp bracelet?
Hand-wash briefly in cool water with mild soap, rinse thoroughly, and dry flat. Avoid soaking closures for long periods to keep knots dense.
How do I make the sliding knot move more smoothly?
Ensure the sleeve isn’t too tight: 6–8 square knots usually suffice. If it still drags, gently work a tiny amount of natural beeswax along the tails where they pass through the sleeve, then slide several times to distribute.
Practice project checklist before starting
- Measured wrist and chosen closure type
- Core and working cords cut with extra length
- Board and tape or pins ready; good lighting set
- Scrap cord nearby for quick knot rehearsal
- Sharp scissors; optional beads pre-tested for smooth holes
Materials and length calculator example
Use this example to plan your next bracelet quickly. Adjust numbers for different widths or dense patterns.
| Target wrist | Closure | Finished inner circumference | Core cords (each) | Working cords (each) | Notes |
|---|---|---|---|---|---|
| 16.5 cm | Sliding knot | 17.5 cm | 60 cm | 280 cm | Square knots with 3 bead accents |
| 17.5 cm | Button and loop | 18.5 cm | 55 cm | 250 cm | Flat band, no beads |
Next steps: build confidence by repeating the workflow
Consistency comes from repeating the same clean process. Set up, measure, knot steadily, finish neatly, and test. Keep your first three bracelets as references: one flat, one spiral, and one adjustable. Compare them to spot improvements in edge straightness, bead alignment, and closure smoothness.
