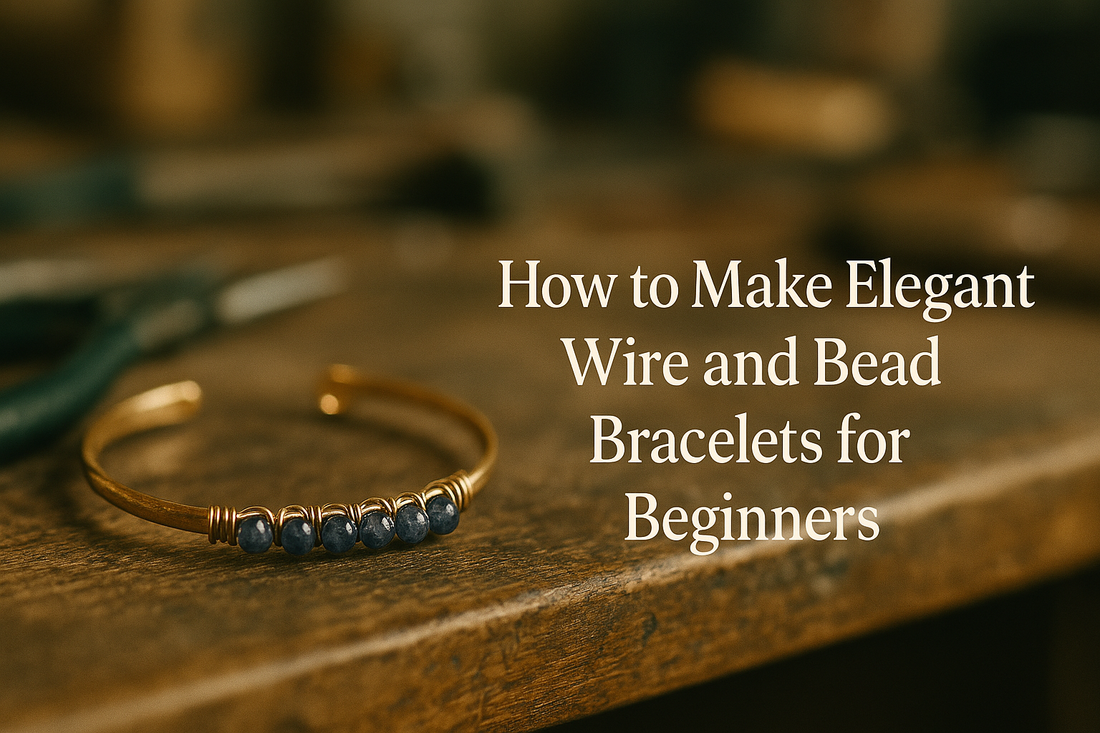
How to make elegant wire and bead bracelets for beginner ?
Share
Step 1: Gather Your Materials
- Beading wire (0.38mm or 0.46mm)
- Beads of your choice
- Wire cutters
- Round-nose pliers
- Flat-nose pliers
- Crimp beads
- Jump rings
- Clasp (lobster or toggle)

Step 2: Cut the Wire
Cut a length of wire approximately 12 inches (30 cm). This will give you enough length to add beads and finish the bracelet with ease.
Pro Tip:
It’s always better to cut a bit more than too little. Excess wire can be trimmed later.
Step 3: Attach the Clasp
Follow these steps:
- Slide a crimp bead onto one end of the wire.
- Add one half of the clasp.
- Loop the wire back through the crimp bead to form a secure loop.
- Use flat-nose pliers to flatten the crimp bead securely.
Visual Example:
Imagine threading a needle: pass the wire through the clasp, and loop it back into the crimp bead like threading a needle back through fabric.
Step 4: Add Beads
Now for the fun part! Start threading your beads in the desired pattern. Here are some patterns you might like:
| Pattern Name | Example Beads | Style |
|---|---|---|
| Classic | Silver - Pearl - Silver | Elegant |
| Boho | Wood - Glass - Stone | Natural |
| Color Pop | Red - Blue - Yellow | Fun and Bright |
Step 5: Finish the Bracelet
- Once you've added all your beads, slide a crimp bead onto the remaining wire.
- Add the other half of the clasp.
- Loop the wire back through the crimp bead and the last few beads.
- Pull tight so there is no gap between the beads and the clasp.
- Flatten the crimp bead and trim the excess wire.
Step 6: Quality Check
Before wearing or gifting your bracelet, make sure to:
- Check that the clasp opens and closes easily.
- Ensure beads are snug with no large gaps.
- Inspect crimp beads to confirm they're tightly secured.
Step 7: Store or Gift
Your bracelet is now complete. You can store it in a jewelry pouch or gift it to a friend. Here's how you might package it:
- Place in a small box lined with cotton.
- Add a hand-written note.
- Seal with a ribbon for a professional look.
Example Design: Ocean Breeze Bracelet
This design uses blue, white, and silver beads with a toggle clasp. The arrangement alternates:
- 3mm silver spacer
- 6mm aqua glass bead
- 3mm white pearl
Repeat this pattern until you reach the desired length (about 7 inches).
Helpful Measurement Guide
| Wrist Size (inches) | Bracelet Length | Wire Length Needed |
|---|---|---|
| 6" | 7" | 12" |
| 7" | 8" | 13" |
| 8" | 9" | 14" |
Extra Tips
- Use a bead board to layout your design first.
- Mix different textures for a more dynamic look.
- Try using charms or pendants as a centerpiece.
Bonus: Reusable Tools
Once you've invested in quality pliers and cutters, they can be used for multiple jewelry projects. Clean them regularly and store them safely to extend their lifespan.

