
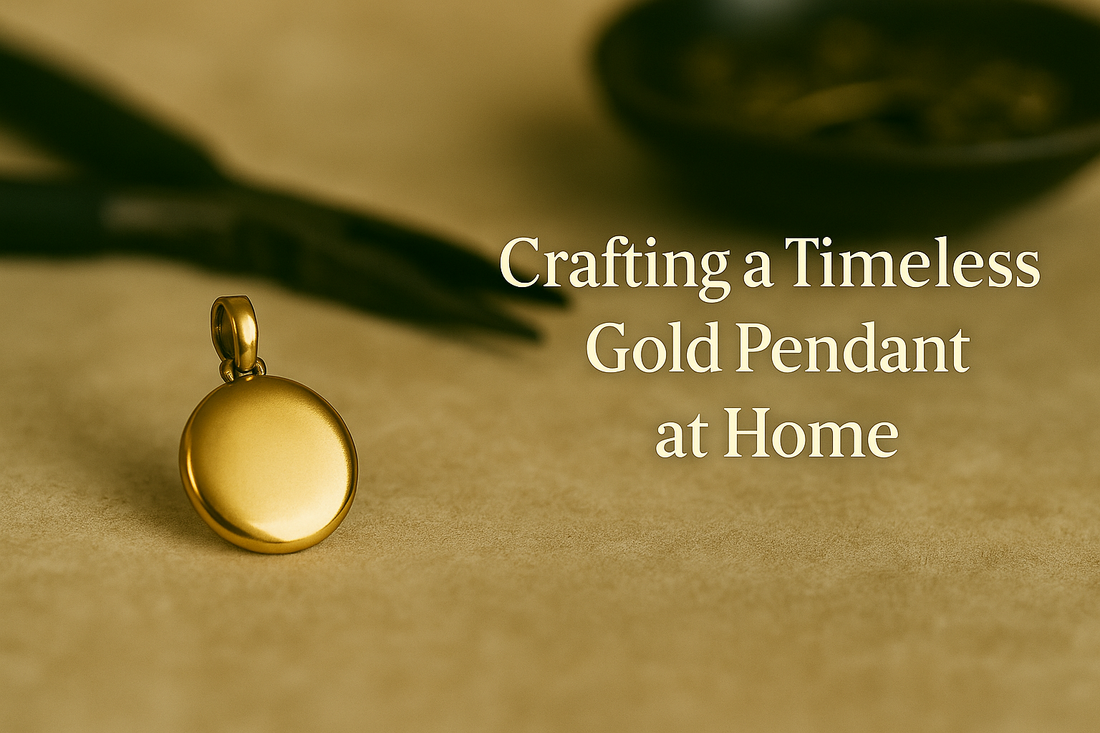
Crafting a timeless gold pendant at home
This step-by-step guide walks through safe, repeatable methods to create a classic gold-look pendant at home using small-bench jewelry techniques. You will design a balanced silhouette, choose between solid gold, gold-filled, or brass core with gold finish, saw and file the blank, form and solder a bail, set a cabochon with a bezel or an inlay recess, refine surfaces through progressive finishing, and assemble on a chain. Eight inline diagrams illustrate the key steps where they’re needed.
Selecting materials: solid gold, gold-filled, or brass core with gold finish
Choose a material that matches your budget and the tools you have. For home studios, gold-filled sheet and wire are excellent: a thick, bonded gold layer on a brass core gives genuine gold surfaces with better affordability and durability than simple plating. Brass is easy to cut and polish; you can leave it warm-gold as-is or finish it with a professional plating service later. Solid gold offers premium feel and color but demands careful soldering control.
Material comparison for a classic pendant
| Material | Pros | Watch-outs | Best use |
|---|---|---|---|
| 14k/18k solid gold | Unmatched color and longevity | Higher cost; precise heat control | Heirloom pendants, fine bezels |
| Gold-filled (sheet/wire) | True gold surface, durable | Avoid over-sanding through layer | Everyday pendants, bails, frames |
| Brass (jewelry grade) | Affordable, easy to saw/file | Tarnish over time; needs sealing or polish | Practice, prototypes, plated pieces |
Design planning and balanced silhouette
A timeless gold pendant relies on a simple, well-proportioned outline and a centered bail that makes the pendant hang face-forward. Sketch 2–3 shapes—round, oval, or soft teardrop—then pick one and lock in key measurements with calipers. Decide whether to set a stone (cabochon) or keep a sleek metal-only finish with a subtle dome or engraved line.
Proportions that always work
- Round: Ø 22–30 mm; suits short and mid-length chains.
- Oval: 20×28 mm or 24×32 mm; elongates the neckline.
- Teardrop: ~30–36 mm tall with a gentle taper; elegant and versatile.
Cutting the blank: sawing, filing, and smoothing
Transferring your design to metal cleanly saves time later. Tape your sketch to the sheet, or glue a printed template with removable adhesive. Use a jeweler’s saw (fine blade, e.g., #2/0–#4/0) and keep strokes light; rotate the piece on a bench pin instead of forcing the blade. After rough-out, refine the perimeter with needle files, then move into a controlled sanding ladder.
Cut and refine sequence
- Stick the template to 0.8–1.0 mm sheet; punch a small divot for the bail slot if needed.
- Saw outside the line; sneak up to the line with files for crisp symmetry.
- Sand edges 400→600→800 grit to remove saw marks; keep edges square.
- Lightly break the back edge with 800 grit for skin comfort.
Tips for gold-filled and brass
- With gold-filled, avoid deep sanding that could cut through the gold layer at sharp corners—round corners slightly.
- For brass, plan for a final polish or microcrystalline wax to slow tarnish.
Adding depth: gentle doming, engraved line, or inlay recess
Flat pendants look clean; a hint of depth elevates them. You can dome the blank slightly, score an elegant groove for reflected light, or carve a shallow recess for an inlay disc (stone or contrasting metal).
Three options
- Gentle dome: planish lightly in a doming block with a wooden or nylon punch; keep the face pristine.
- Engraved light line: scribe a shallow circle 2–3 mm inside the rim; polish to make it glow.
- Inlay recess: remove ~0.3–0.4 mm with a rotary burr inside a taped stencil; press-fit a contrasting disc.
Building the bail: integrated slot, soldered ring, or hidden tube
The bail dictates how the pendant hangs and how comfortable it feels. Three reliable approaches are an integrated slot, a soldered top ring, or a hidden tube bail. For a timeless look, a small soldered ring or a petite tube keeps attention on the pendant face.
Methods
- Soldered ring: pierce a small tab at the top or simply solder a jump ring on the back top edge.
- Tube bail: cut 4–6 mm of small-diameter tube; solder behind the top rim for a clean floating look.
- Integrated slot: saw a narrow slot near the top; ease edges for chain glide.
Ring/tube sizing
| Pendant size | Ring ID | Wire gauge | Tube ID | Notes |
|---|---|---|---|---|
| Ø 22–26 mm | 4–5 mm | 20–22 ga | ~2 mm | Fine cable chain |
| Ø 28–32 mm | 5–6 mm | 18–20 ga | ~2.5 mm | Medium cable or cord |
Soldering fundamentals for bails and bezels
Clean metal, close-fitting joints, and correct heat are the core of tidy soldering. Use small snippets (pallions) of easy or medium solder, and a focused butane flame. Heat the larger mass (the pendant) so the solder flows toward the joint; do not chase the solder with the flame.
Flux, fit, and fire
- File mating surfaces flat; degrease with alcohol.
- Flux the joint lightly; place a small solder pallion at the join.
- Heat evenly; watch for the flash as solder flows. Remove heat promptly.
- Pickle if needed; rinse; neutralize. (Use jewelry-safe solutions per instructions.)
Common soldering errors
- Gap at joint → solder bridges but is weak; refit and try again.
- Overheating → burnt flux and pitted surfaces; lower heat, move constantly.
- Too much solder → blobs; use a smaller pallion and better fit.
Optional cabochon bezel: classic stone-in-gold look
A slender bezel around a cabochon creates a timeless focal point. Use a pre-made fine silver bezel strip for easier forming (fine silver moves and burnishes smoothly), then solder it to the pendant and set the stone after finishing the inner seat.
Bezel steps
- Wrap bezel strip around the stone; mark and cut so ends meet perfectly; solder the seam into a ring.
- Trace the ring on your pendant; saw out the interior or leave it as a raised seat.
- Solder the bezel ring onto the face; clean and level the seat with fine files.
- Press-fit the cab; burnish the bezel evenly with a pusher and burnisher.
Bezel do’s and don’ts
- Do keep bezel height just above the stone’s shoulder (≈ 1/3 of the stone height).
- Don’t over-burnish; small, even strokes prevent ripples.
Finishing sequence: sanding, polishing, and surface protection
Professional finish comes from a disciplined progression. After soldering and any bezel work, re-square edges where needed and follow a grit ladder. For gold-filled, remove the least material necessary. Finish with a gentle polish; for brass, optionally seal.
Recommended finishing ladder
| Stage | Grit / Tool | Goal | Notes |
|---|---|---|---|
| Level | 400–600 | Erase solder discoloration, file marks | Block support to keep faces flat |
| Refine | 800–1200 | Close scratches; soften back edge | Light pressure, straight strokes |
| Pre-polish | 1500–3000 | Silky luster | Clean slurry often |
| Polish | Jewelry cloth / compound | Mirror sheen | Avoid aggressive wheels on gold-filled |
Comfort checks
- Cotton test around the rim, bail, and bezel—no snags.
- Back edge micro-bevel for skin comfort.
- Chain glide test through ring/tube—no grinding or squeak.
Assembly: rings, chain, and alignment checks
Small hardware decisions affect comfort and elegance. Select a jump ring that matches pendant weight; close past center for a gapless seam. For tube bails, test multiple chain sizes to find a smooth glide with minimal swing.
Hardware quick guide
| Pendant size | Jump ring | Chain | Clasp | Notes |
|---|---|---|---|---|
| Small (≤ 24 mm) | 4 mm, 22 ga | 1.2–1.4 mm cable | Mini lobster | Keep proportions delicate |
| Medium (26–30 mm) | 5 mm, 20 ga | 1.4–1.8 mm cable | Lobster | Double-ring for articulation if needed |
| Large (32–36 mm) | 6 mm, 18–20 ga | 2.0 mm cable/cord | Lobster | Consider a tube bail to stabilize hang |
Workflow: end-to-end checklist
- Pick material (gold-filled/brass/solid gold) and thickness (0.8–1.0 mm).
- Sketch 2–3 silhouettes; choose one and set dimensions with calipers.
- Adhere template; saw just outside the line; file to shape.
- Sand edges 400→800; micro-bevel the back edge.
- Add depth (dome, light line, or shallow recess) if desired.
- Prepare bail (ring/tube/slot); solder cleanly; pickle/rinse.
- Optional bezel: fit ring, solder, level seat, set stone with even burnish.
- Finish surfaces 800→3000; polish with cloth/compound.
- Install jump ring and chain; verify straight hang and smooth glide.
Troubleshooting and fixes
| Issue | Likely cause | Fix now | Prevent next time |
|---|---|---|---|
| Pendant tilts on chain | Bail off-center; ring too small/stiff | Re-align bail; use a larger ring | Mark centerline; test-hang before solder |
| Solder blob shows | Too much solder or overheating | Wick off carefully; refinish | Smaller pallions; heat the mass, not the chip |
| Scratchy rim | Skipped grits; burr at back edge | Return to 600–800; micro-bevel | Disciplined grit ladder; cotton snag test |
| Gold-filled edge shows base | Over-sanded corner | Soft blend; consider rounding | Maintain gentle radii; minimal removal |
| Bezel ripples | Over-burnished; uneven push | Light planish; re-burnish small sections | Short, even strokes; correct bezel height |
Project 1 — Classic round gold-look pendant with hidden tube bail
Materials
- Gold-filled sheet 0.8 mm, brass tube ID ~2 mm (gold-filled tube if available), 5 mm jump ring, 1.4–1.6 mm chain.
Steps
- Cut Ø 26–28 mm circle; file and sand to 800.
- Lightly dome; polish the face to pre-finish.
- Cut 5 mm tube; file ends flat; solder to the back top (centerline).
- Finish and polish; thread chain; confirm smooth glide.
Tips
- Mask the face during soldering to avoid flux stains; clean immediately after pickling.
Project 2 — Oval pendant with engraved light line and soldered ring
Materials
- Brass or gold-filled sheet 1.0 mm, 5 mm ring (20 ga), fine scribe, polishing cloth.
Steps
- Cut 24×32 mm oval; refine perimeter; soft back bevel.
- Scribe a 2 mm inset line; smooth lightly with 1200 grit.
- Solder ring on top edge; finish and polish to mirror.
Tip
- Keep the line light and continuous; any stop-start will show after polish—practice on scrap.
Project 3 — Teardrop with low bezel cabochon
Materials
- Gold-filled or solid gold base 0.8–1.0 mm, fine silver bezel strip, 8–10 mm cabochon, 5 mm ring, chain.
Steps
- Cut 30–34 mm teardrop; refine.
- Form bezel ring; solder seam; solder to face on centerline.
- Level seat; set stone; burnish evenly.
- Solder ring or tube; polish; assemble.
Avoid
- Bezel too tall; keep just above the stone’s shoulder for a crisp, timeless profile.
Care and longevity
- Wipe after wear with a soft cloth to remove oils.
- Store separately to avoid micro-scratches; use soft pouches.
- For brass cores, re-polish periodically; optional microcrystalline wax to slow tarnish.
Practice drills for consistent results
- Saw control: cut three identical circles; aim for ≤0.3 mm variance by calipers.
- Edge uniformity: sand one edge through 400→1200; compare gloss under bright light.
- Bail alignment: solder three tube bails on scrap discs; all must hang perfectly on a thread-line.
- Bezel burnish: practice on glass cab substitutes; aim for ripple-free lips.
Complete summary checklist
- Choose material and thickness that match tools and finish goals.
- Lock proportions and bail centerline before any cutting.
- Saw proud of the line; file to perfection; sand progressively.
- Add subtle depth (dome/line/recess) for a refined look.
- Prepare and solder bail cleanly; test-hang early.
- Optional: bezel set a cab; keep bezel low and even.
- Finish: 800→3000, polish; cotton snag test; micro-bevel back edge.
- Assemble hardware; verify straight hang and smooth chain articulation.
- Record sizes, ring gauges, and finishing ladder for repeatable, timeless pendants.
