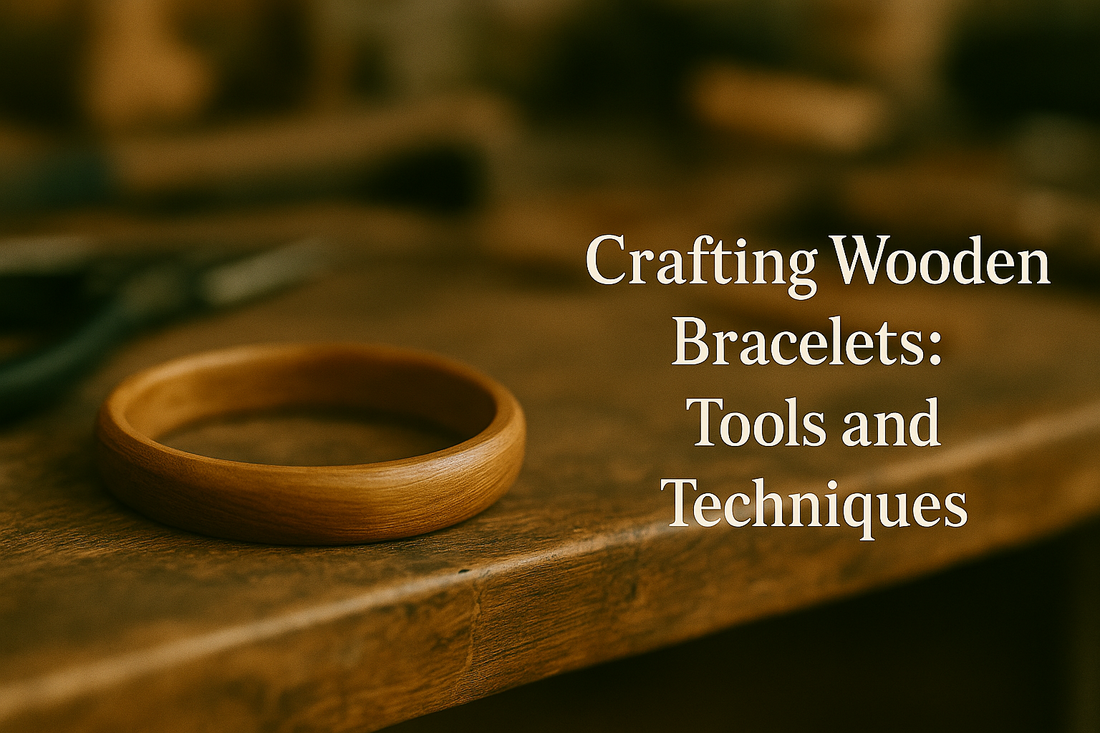
Crafting wooden bracelets : Tools and techniques
Share
Crafting wooden bracelets is a rewarding and creative hobby that combines woodworking, design, and craftsmanship. Whether you're a beginner or an experienced woodworker, understanding the right tools and techniques can elevate your results.
Why Choose Wooden Bracelets?
- Natural Aesthetic: Wood offers a warm, earthy look that appeals to nature lovers.
- Durability: With proper finishing, wooden bracelets are long-lasting and resistant to wear.
- Customization: Easily engraved, shaped, and stained for a personal touch.
- Eco-Friendly: Sustainable wood sources make these accessories environmentally responsible.
Essential Tools for Crafting Wooden Bracelets
Manual and Power Tools
- Scroll Saw or Band Saw: To cut precise bracelet shapes from wood blanks.
- Dremel Tool: For detailed carving, engraving, and smoothing edges.
- Drill Press or Hand Drill: Needed for bead holes or bracelet hinge mechanisms.
- Sandpaper and Sanding Blocks: For smoothing surfaces and refining shapes.
- Clamps: To secure wood while working.
Finishing and Design Tools
- Woodburning Pen: For adding custom designs and textures.
- Wood Stain and Dye: To add color and enhance the wood grain.
- Natural Oils or Varnish: For sealing and protecting the bracelet.
- Polishing Cloth: To give the final product a smooth, glossy finish.

Types of Wood Recommended for Bracelets
| Wood Type | Characteristics | Best For |
|---|---|---|
| Maple | Light-colored, smooth texture | Modern, minimalist bracelets |
| Walnut | Dark brown, durable | Rustic, masculine styles |
| Cherry | Reddish tone, polishes well | Elegant, gift-worthy designs |
| Bamboo | Eco-friendly, flexible | Lightweight, casual wear |
| Olive Wood | Rich grain patterns, aromatic | Artisan and exotic looks |
Step-by-Step Guide to Crafting a Wooden Bracelet
1. Choose and Prepare the Wood
Select a wood type suitable for your design. Cut the wood into a blank slightly larger than the desired bracelet size. Let it acclimate to your workspace to avoid future warping.
2. Create a Template
Sketch your bracelet design on paper or print a template. Tape it to the wood and trace the outline. This ensures consistency and symmetry.
3. Cut the Outer and Inner Shapes
Using a scroll saw or band saw, carefully cut the bracelet’s outer shape. Drill a hole to insert the blade and cut out the inner wrist opening. Smooth all edges with sandpaper or a rotary tool.
4. Sand and Shape
- Start with coarse sandpaper (e.g., 80-grit) to remove tool marks.
- Move to finer grits (up to 400-grit) for a silky finish.
- Refine curves and edges for comfort and style.
5. Add Design Details
Use a woodburning pen or carving tools to engrave patterns, initials, or symbols. Be creative and keep your target audience in mind—minimalist, tribal, bohemian, or custom themes all work well.
6. Staining and Finishing
- Apply wood stain or dye with a clean cloth or brush.
- Let it dry fully before applying finishing oil or varnish.
- Buff the bracelet with a polishing cloth for sheen and protection.
7. Final Assembly (Optional)
If you're adding hinges, magnetic clasps, or inlay elements, do so after finishing. Test for fit and durability before packaging or selling.
Creative Design Ideas
- Stackable Sets: Thin bracelets designed to be worn in multiples.
- Inlay Work: Add crushed stones, resin, or metal strips into carved channels.
- Mixed Media: Combine wood with leather, beads, or fabric cords for variety.
- Engraved Quotes: Burn meaningful phrases or dates into the wood.
Common Mistakes to Avoid
- Skipping the sanding process: Results in rough, uncomfortable bracelets.
- Using wet or green wood: Causes cracking and warping over time.
- Overapplying stain or finish: Can mask the beauty of the wood grain.
- Ignoring wrist sizes: Leads to bracelets that are too tight or too loose.
- Neglecting safety gear: Always wear eye protection, a dust mask, and gloves when necessary.
Tips and Best Practices
Start Simple
If you're new to woodworking, begin with simple shapes and designs. This helps build your confidence and skills before moving on to more intricate projects.
Use Sustainable Wood
Whenever possible, source reclaimed or FSC-certified wood. Not only is this better for the environment, but it also appeals to eco-conscious customers.
Test Finishes on Scrap Pieces
Before applying a new stain or finish to your bracelet, test it on a leftover piece of the same wood to ensure color accuracy and texture compatibility.
Keep a Clean Workspace
Organized tools and a clean environment reduce the risk of accidents and improve your workflow efficiency.
Document Your Process
Take photos or notes during your crafting. These can be used for marketing, tutorials, or to recreate popular designs later.
Crafting wooden bracelets is both an art and a skill. With the right tools, patience, and creativity, anyone can make stunning, wearable pieces that reflect personality and craftsmanship. Whether you pursue it as a hobby or a small business, mastering these techniques and avoiding common pitfalls will help you produce high-quality bracelets that stand out in today’s handmade accessory market.
Remember: take your time, value quality over quantity, and never stop experimenting. Each bracelet tells a story make yours worth sharing.

