
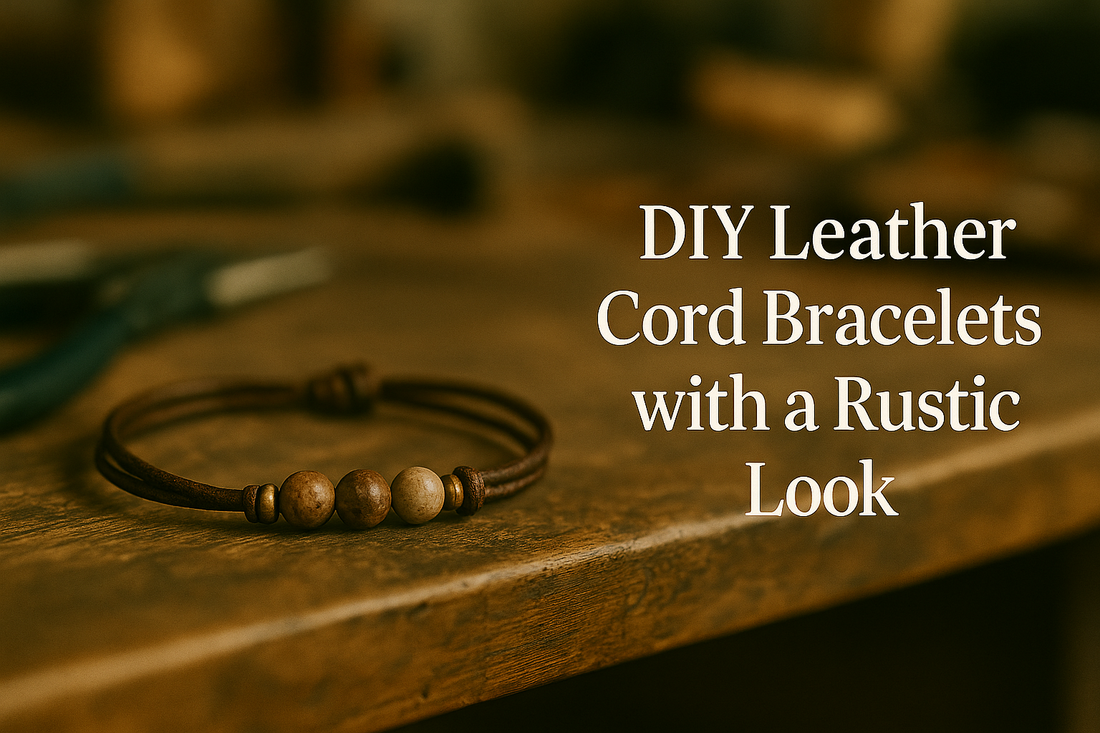
DIY leather cord bracelets with a rustic look
This tutorial covers how to craft leather cord bracelets with a rugged, weathered aesthetic.
You will learn how to choose leather types and diameters, prepare and condition cord, braid or knot core patterns, add beads and sliders, build adjustable and fixed closures, burnish and finish edges, distress for patina, and test durability. Six inline diagrams illustrate the essential steps exactly where you’ll use them.
Choosing leather cord, thickness, and hardware
Leather choice determines the bracelet’s comfort, structure, and rustic character. Round cords make tidy knots and discrete closures. Flat lace shows bold textures and takes stamps or edge burnish beautifully. For a rugged feel, pick full-grain or vegetable-tanned leather with visible grain and subtle color variation.
Round vs flat leather and what each does best
- Round 1.0–1.5 mm: slim, flexible, ideal for multi-wrap and sliding knots; fits small-hole beads.
- Round 2.0 mm: sturdy single-wrap bracelets, prominent knots, secure button loops.
- Flat lace 3–5 mm: bold bands, braids, stamped textures, visible burnished edges.
Finish, temper, and color
- Vegetable-tanned: accepts dye, burnish, and patina; stiff at first then softens with wear.
- Oil-tanned/pull-up: pre-oiled, instantly rustic; edges are softer, less crisp for stamping.
- Chrome-tanned: soft, colorfast; use when you need drape and comfort immediately.
Hardware and accents
- Buttons (wood, bone, metal), hammered sliders, and large-hole rustic beads with smooth channels.
- Rivets for flat lace joins (choose double-cap rivets sized to lace thickness).
- Optional thread (waxed linen or poly) for securing wraps or whipping ends.
Cord size and closure pairing
| Cord/lace | Best closure | Notes |
|---|---|---|
| Round 1.0–1.5 mm | Sliding knot, small button loop | Ideal for multi-wrap rustic stacks |
| Round 2.0 mm | Button + loop, barrel knot | Strong, less stretch; classic field look |
| Flat 3–5 mm lace | Riveted loop, slit-and-tuck closure | Visible edges; great for burnish/patina |
Measuring, cutting, and conditioning leather for a rustic bracelet
Accurate measuring prevents a too-tight band and protects fibers from overstrain. Conditioning prepares the surface and helps edges burnish smoothly. Slightly oversizing, then fine-tuning after test-fitting, gives the best results.
Wrist measurement and fit decisions
- Measure the wrist at the wrist bone using a flexible tape.
- Choose the fit:
- Snug everyday: add 0–0.5 cm
- Classic comfort: add 0.5–1.0 cm
- Loose rustic cuff: add 1.0–1.5 cm (flat lace)
- For multi-wraps, multiply by the number of wraps and add 3–5 cm for the closure and knots.
Cutting and conditioning sequence
- Cut cord with sharp snips; avoid crushing ends.
- Massage a pea-sized amount of balm into the leather; remove excess with a cloth.
- For flat lace, bevel edges lightly with sandpaper and burnish with a damp cloth or bone folder.
Core techniques: rustic knots, braids, and wraps
Rustic bracelets rely on simple, repeatable moves that highlight leather texture. Focus on consistent tension and clean transitions; the patina and grain will do the rest.
Three basic knots for leather cord
- Overhand stopper: quick end-stop before beads or a loop.
- Barrel knot (double overhand): compact, handsome knot for closures and focal spacing.
- Sliding knot: adjustable closure for round cords; two opposing sliding knots control size.
Simple braids that read rustic
- Three-strand braid: classic field-braid texture, easy to keep even with light conditioning.
- Flat lace braid (three or four): wide, airy look; edges can be burnished or left raw for ruggedness.
Whipping and lashing
Use waxed linen or fine poly thread to whip (bind) a junction for 5–10 tight turns. This reinforces stress points, especially near clasps or beads, and adds a subtle hand-made detail.
Project A: round-leather single-wrap with button-and-loop closure
This foundational bracelet uses 2.0 mm round leather, a hand-formed loop, a rustic button, and a barrel knot stopper. It wears comfortably and ages beautifully.
Materials
- Round leather cord 2.0 mm: wrist + 3–4 cm
- Button with 2–3 mm shank hole or two-hole flat button
- Waxed linen (optional) for whipping near the loop
Steps
- Form the loop: From one end, fold 3–3.5 cm back on itself and test with the button. Adjust so the button passes snugly.
- Secure the neck: Whip 6–8 turns with waxed linen or tie a tight barrel knot near the loop base.
- Size and test: Wrap around the wrist, mark the button position.
- Attach button: Thread the free end through the button shank or holes; tie a barrel knot 5–7 mm from the button to lock it; trim and burnish the tail.
Tips
- A tiny dab of balm on the loop helps the button slide during the first week.
- If the button feels heavy, add a micro overhand knot on the underside as a bumper.
Project B: three-strand braid with rustic bead accents
Three equal cords produce a classic field braid. Add large-hole wood or ceramic beads at intervals and lock each segment with a barrel knot for spacing and strength.
Materials
- Three cords of 1.5–2.0 mm leather, each finished length + 8–10 cm
- Large-hole beads (smooth channels, no sharp edges)
- Waxed thread (optional) for whipping transitions
Steps
- Anchor and start braid: Tie a temporary overhand knot at one end; clamp or tape it. Braid left-over-center, right-over-center with even tension.
- Add beads: Slide a bead onto the center strand; braid 2–3 crossings; tie a barrel knot on the center to keep the bead from drifting.
- Finish: At target length, tie a tight barrel knot; create a loop on the other end or add a button as in Project A.
Common errors and fixes
| Issue | Cause | Fix |
|---|---|---|
| Braid flares wider mid-band | Uneven pull on center strand | Re-braid the last 3–4 crossings with balanced tension |
| Bead migrates | No locking knot or loose braid | Add a barrel knot or whip above and below the bead |
Project C: flat lace cuff with riveted loop and slit closure
A flat leather cuff highlights grain and edge finish. A simple riveted loop on one end and a neat slit on the other creates a secure, hardware-light closure.
Materials
- Flat lace 3–5 mm wide, length = wrist + ease
- Double-cap rivet set sized to lace thickness
- Rotary punch or awl; scrap board; mallet
Steps
- Edge prep: Lightly bevel, dampen, and burnish edges until smooth and slightly shiny.
- Riveted loop: Fold 1.5–2 cm back on itself; punch aligned holes; set a rivet securely.
- Slit end: At the other end, cut a 6–8 mm slit centered; test fit the loop through the slit; adjust length if needed.
- Finish: Condition both sides and flex the cuff to seat the shape.
Notes
- For a wider cuff (10–12 mm), use two rivets to prevent twisting.
- Keep the slit rounded at ends to reduce tear-out; use a tiny punch to start each end of the slit.
Adding rustic beads, sliders, and metal accents
Accents should reinforce the leather’s natural look. Prefer wood, matte ceramic, raw brass, antiqued copper, or bone beads with generous, smoothly finished holes. Avoid sharp metal burrs; polish bead channels if needed.
Placement strategies
- Center focal: one bead framed by barrel knots or whipping on both sides.
- Intervals: repeat small wood beads every 2–3 cm to aid measuring and symmetry.
- Sliders: add a hammered ring that moves along the leather; limit travel with micro knots.
Securing methods
- Barrel knots immediately above and below a focal.
- Whipping with waxed thread to stabilize heavy metal beads.
- Back-threading the tail through the bead and under the previous knot for a hidden lock.
Distressing and patina for a weathered, rustic look
Leather gains character as it’s used. You can accelerate subtle wear patterns without damaging structure. Target edges and high-touch points rather than random scuffing.
Gentle distress sequence
- After assembly, rub edges and high spots with a dry cloth for heat and sheen.
- Lightly abrade select areas with a fine pad; avoid cutting fibers.
- Apply a thin layer of balm; buff to a soft glow.
Metal accent patina
- Antique brass or copper components with a brief patina dip, then neutralize and seal with wax.
- Hand-rubbed paste polish on peaks leaves valleys darker for definition.
Adjustable sliding-knot bracelet (round leather, two opposing sliders)
Adjustable sizing is practical for gifts and layering. Two opposing sliding knots glide smoothly on round leather when conditioned and tightened correctly.
Materials
- Round leather 1.5 mm: two wraps of wrist circumference + 6 cm
- Optional small wood bead for end-stops
Steps
- Form a continuous loop by overlapping ends 3–4 cm.
- Use a 10–12 cm scrap of leather to tie a sliding knot sleeve around the overlap: 6–8 neat wraps; tuck ends.
- Repeat on the opposite side with the second sleeve so the two sliders face each other.
- Add tiny end beads or overhand stoppers to keep sleeves from slipping off.
Movement tuning
- If sleeves drag, rub a trace of balm on the moving segment and work the sliders several times.
- If a sleeve slips too freely, add two more wraps or whip a single turn at each end.
Quality checks and stress testing
Leather stretches slightly as knots seat and fibers relax. Test after finishing so any adjustment happens on the bench, not on the wrist.
Five tests
- Flex: bend around two fingers; the band should curve smoothly without sharp kinks.
- Pull: light tug at closures; no creeping or squeaks from metal edges.
- Roll: slide on and off 10 times; sliders should glide without grabbing.
- Snag: run a cotton cloth over edges; if it catches, refine edge or tuck thread tails.
- Sweat simulate: warm the bracelet in your hands; re-buff sheen with a dry cloth.
Maintenance for long-lasting rustic leather bracelets
Leather looks best with simple care. Periodic cleaning and buffing maintain the soft glow and prevent salt and grit from drying fibers.
Care routine
- Wipe with a dry cloth after wear; brush off grit before conditioning.
- Condition sparingly every few weeks; too much softens structure.
- Avoid prolonged soaking; if wet, pat dry and air dry away from heat, then re-buff.
Closure upkeep
- Re-tighten barrel knots if they relax; they will settle after the first day.
- For sliders, re-wrap one extra turn if movement becomes too loose.
Troubleshooting and quick fixes
Minor issues are easy to correct if you spot them early. Keep a small kit with thread, spare beads, and scraps of leather for on-the-go repairs.
Common problems
| Problem | Cause | Fix | Prevent next time |
|---|---|---|---|
| Loop too loose on button | Loop oversized or leather softened | Add a micro whipping at loop neck | Size loop to tight fit; condition lightly |
| Bead scratches cord | Rough hole edges | Polish hole; add spacer bead | Inspect channels; choose smooth cores |
| Edges feel sharp | No burnish or bevel | Bevel lightly and re-burnish | Edge prep before assembly |
| Slider sticks | Dry leather or too-tight wraps | Balm tiny amount; add one wrap | Condition moving segments |
Practice drills to build clean, rustic technique
Short repetitions build muscle memory so actual projects go faster and cleaner.
15-minute drills
- Tie five identical barrel knots aiming for identical diameter and spacing.
- Whip a 1 cm band with waxed thread, trim tails, and burnish smooth.
- Edge-burnish a 10 cm flat lace sample to a consistent sheen.
Materials planner and cut list examples
Use these starting points and tweak after your first test fit. Leather brands vary in temper and stretch, so record your own adjustments.
| Design | Cord/lace | Typical cut length | Closure | Notes |
|---|---|---|---|---|
| Single-wrap button loop | Round 2.0 mm | Wrist + 3–4 cm | Button + barrel knot | Whip loop neck if needed |
| Three-strand braid | 3 × round 1.5–2.0 mm | Each = finished + 8–10 cm | Loop or button | Lock beads with barrel knots |
| Flat cuff with slit | Flat 3–5 mm | Wrist + 0.5–1.5 cm | Riveted loop + slit | Round slit ends with punch |
| Adjustable slider | Round 1.5 mm | 2 × wrist + 6 cm | Opposing sliding knots | Balance sleeve wraps (6–8) |
Complete step-by-step summary checklist
- Select leather type (veg-tan for patina, oil-tan for instant rustic) and cord size.
- Measure wrist, choose fit, and calculate length (add allowance for knots/closures).
- Cut cleanly; condition lightly; bevel/burnish edges on flat lace.
- Practice knots on offcuts: overhand, barrel, sliding; braid a 5 cm sample.
- Assemble the band (single, braided, or cuff), adding beads or sliders where planned.
- Build the closure (button loop, riveted loop + slit, or opposing sliders).
- Whip or lash stress points; trim tails; burnish any rough edges.
- Distress subtly: cloth buff, light abrasion on high spots; apply minimal balm and buff.
- Perform curve, pull, roll, snag, and re-buff tests; fine-tune fit.
- Record lengths and adjustments for your next bracelet to keep results consistent.
