
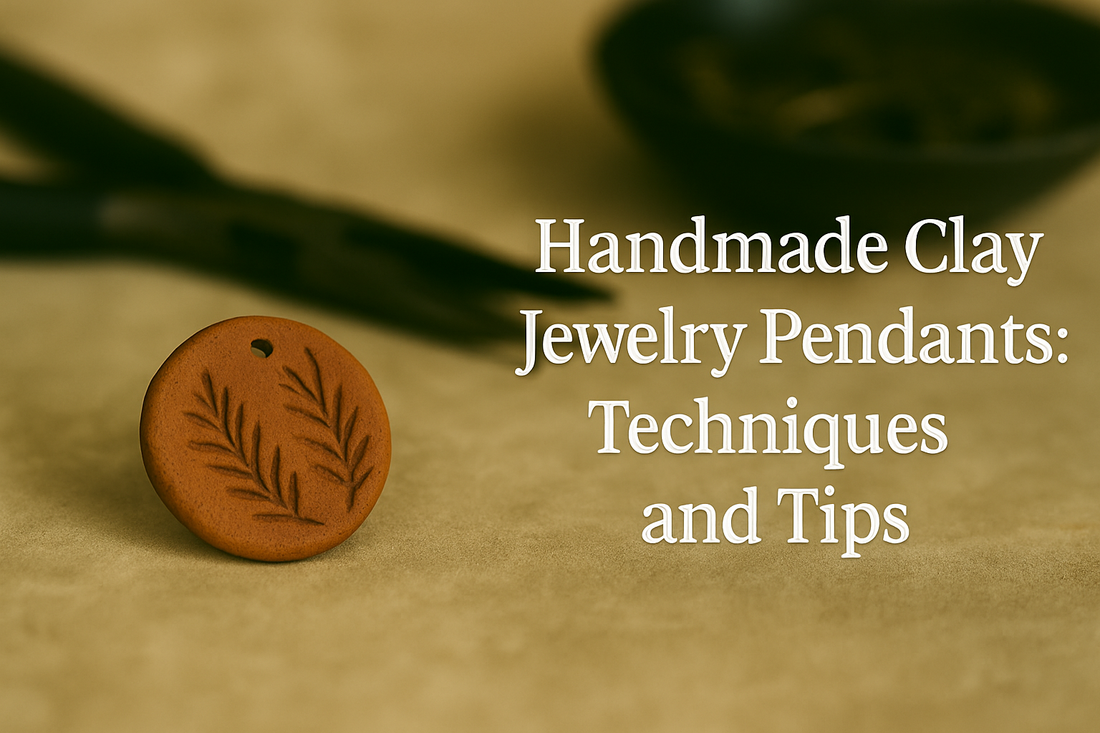
Handmade clay jewelry pendants: techniques and tips
This step-by-step guide shows how to make durable, comfortable, and visually striking clay pendants using polymer clay or air-dry clay. You’ll learn how to choose clay types, condition and color-mix cleanly, form slabs and shapes, add textures and surface treatments, place holes or embed findings before curing, bake with even heat, sand and polish to a glassy sheen, seal selectively, and attach hardware securely. Eight inline diagrams illustrate the most important steps exactly where you need them.
Choosing clay and planning pendant thickness
Your first two decisions—material and thickness—set the tone for durability and comfort. Polymer clay cures in a standard oven; air-dry clays harden by evaporation. For pendants that resist chipping and hold crisp edges, polymer clay is the most forgiving and repeatable. Thickness influences strength, weight, and how polished the edges feel against skin.
Clay types at a glance
| Clay type | Best use | Pros | Watch-outs |
|---|---|---|---|
| Polymer clay (conditioned) | Everyday pendants, cane work, mica shift | Strong after cure, vibrant colors, reworkable before bake | Requires accurate oven temp; can scorch if overheated |
| Air-dry clay (resin/stone-like) | Matte, organic looks; large shapes | No baking; easy cleanup | More brittle when thin; seal before wear |
Thickness planning for pendant comfort
Target a uniform thickness to avoid weak zones. For polymer clay pendants, 2.5–3.5 mm works well for most sizes (20–45 mm wide). Heavier statement pieces can go 4 mm with beveled edges to lighten the look.
- Delicate studs/charms: 2.0–2.5 mm, small cutters.
- Medium pendants: 2.5–3.0 mm with micro bevel on the back for comfort.
- Large shapes: 3.5–4.0 mm; consider a hollow back or inset to reduce weight.
Conditioning clay for clean color and strength
Conditioning aligns plasticizers and warms the clay for smooth forming. Under-conditioned clay cracks; over-conditioned clay can get mushy and trap fingerprints. The goal is a silky sheet that doesn’t crumble at folds.
Conditioning sequence (polymer)
- Slice clay into thin sheets with a tissue blade.
- Warm slightly in hands; pass through a pasta machine at the thickest setting 10–15 times, folding in half each pass with fold side entering the rollers first.
- Reduce to a medium setting to achieve your target thickness; rest the sheet 5 minutes before texturing or cutting.
Color mixing without marbling (unless desired)
- Stack thin sheets of colors, then fold and compress; quarter-turn between passes.
- Stop when streaks vanish. For intentional marbling, stop earlier and twist into a log before rolling into a slab.
Forming slabs, cutting shapes, and planning hole placement
Once conditioned, work on a smooth ceramic tile to keep the slab flat for baking. Decide how the pendant will hang, then mark hole positions or plan embedded hardware before you cut shapes. Avoid holes too close to edges; leave at least 2× hole diameter of material around the hole.
Slab and cutting steps
- Roll the slab to target thickness (2.5–3.0 mm typical).
- Place texture sheet or fabric; apply even pressure for an impression (optional).
- Cut shapes with sharp cutters or a blade against a paper template.
- Lift waste clay away first, then lift pieces with a thin blade to avoid distortion.
Hole placement rules
- Use a 1.5–2.0 mm drill-style clay bit for jump rings.
- Keep hole center ≥3–4 mm from any edge on a 3 mm thick piece.
- For top-center holes, align with the shape’s centerline for balanced hang.
Surface techniques: texture, mica shift, marbling, and screen prints
Surface design defines the pendant’s personality. The most practical techniques for day-to-day wear are shallow textures, mica shift (for metallic clays), controlled marbling, and screen prints with acrylics or alcohol inks. Keep texture depth modest so edges don’t become weak or sharp.
Texture and relief
- Press texture sheets or fabric evenly; dust cornstarch lightly to prevent sticking.
- Shave high points gently with a tissue blade for a faux stone feel.
Mica shift (metallic clays)
- Condition metallic clay until platelets align (silky sheen).
- Stamp or texture, then shave the raised areas carefully; a ghost pattern appears within a flat surface.
Marbling and gradients
- Stop color mixing early; twist and fold to streak intentionally.
- For ombré, stack color sheets from light to dark and roll lengthwise.
Screen print/ink accents
- Apply thin acrylic through a stencil; lift straight up; let dry before cutting.
- Seal prints after cure with a compatible finish (see sealing table).
Embedding findings vs. drilling after cure
You can bake eye pins or wire loops in place, or cure the pendant and drill holes afterward. Embedding saves hardware steps; post-drill offers perfect ring sizing and avoids metal expansion during baking. For clean “no-hardware” looks, consider hidden channels or clay-covered wire bails.
When to embed
- Simple top loop with eye pin set at a slight back angle to keep the pendant facing forward.
- Bridges (two holes) for bar-style pendants.
When to drill after cure
- Very precise hole diameters for jump rings or tube rivets.
- Complex shapes where you want to confirm balance first.
Baking polymer clay: temperature control and support
Even heat and accurate temperature are vital. Underbaked pieces are weak and prone to snapping at holes; overbaked can discolor. Bake on a flat ceramic tile with a parchment sheet; tent with foil or a small pan to prevent scorching. Use an independent oven thermometer—appliances often swing 10–20 °C.
Typical curing schedule (check your brand)
| Clay brand | Temperature | Time per 6 mm | Notes |
|---|---|---|---|
| Brand A (firm) | 130 °C | 30 min | Good for canes and crisp edges |
| Brand B (soft) | 110–120 °C | 30 min | Lower temp; longer working time |
Support tricks
- Lay domed pieces on a folded fiberfill or cardstock curve to preserve shape.
- For textured surfaces, bake face-up and avoid weights that flatten detail.
Sanding, polishing, and edge comfort
Sanding levels minor imperfections and rounds edges to a skin-friendly feel. Work wet, progress through grits, and keep strokes even. A light bevel on the back edge prevents the pendant from digging into the chest.
Grit progression (wet sanding)
| Stage | Grit | Goal | Tip |
|---|---|---|---|
| Level | 400–600 | Remove ridges and blade lines | Use a flat block; avoid rounding faces |
| Refine | 800–1200 | Close scratches | Keep the surface wet; wipe slurry often |
| Pre-polish | 1500–3000 | Silky sheen | Light pressure prevents flat spots |
| Gloss | Micro-mesh 4000–12000 | Glass-like finish (if desired) | Buff with a soft wheel or cloth |
Edge rounding checklist
- Break sharp edges with 800 grit; keep front face crisp.
- Back edge: add a micro bevel for comfort.
- Rinse thoroughly before sealing or attaching hardware.
Selective sealing: when and how
Polymer clay usually doesn’t require sealing—its cured surface is naturally durable. Seal only when you’ve added chalks, mica powders, metallic leaf, alcohol inks, or acrylic screen prints. Air-dry clays benefit from an even, thin seal to resist moisture.
Sealer compatibility
| Surface | Recommended sealer | Finish | Notes |
|---|---|---|---|
| Raw polymer (no media) | None | Natural satin after buff | Buffing alone looks premium |
| Metallic leaf / mica powder | Thin acrylic polymer varnish | Satin or gloss | Test on a scrap to avoid clouding |
| Alcohol inks / acrylic prints | Water-based polyurethane | Clear protective coat | Ultra-thin coats prevent brush marks |
| Air-dry clay | Acrylic sealer | Matte or satin | Two thin coats for moisture resistance |
Attaching hardware: jump rings, bails, and wire-wrapped links
Hardware must be comfortable and reliable. For a clean, minimal look, use a low-profile bail or a hidden wire loop embedded in back. For more decorative builds, add a wrapped loop with a small accent bead above the pendant.
Jump-ring technique (gapless seams)
- Hold ring at 3 and 9 o’clock with two pliers.
- Twist open a few degrees, never pry apart.
- Attach bail and pendant; twist closed past center, then settle flush to “click.”
Wire-wrapped link above the pendant
- Cut 5–6 cm of 20–22 ga wire; make a small loop.
- Attach loop to the bail ring; wrap 1–2 coils to secure.
- Slide a 3–4 mm accent bead; form top loop to connect to chain.
Design recipes: from minimal slabs to cane mosaics
Minimal satin slab pendant
- Look: monochrome or subtle ombré with soft satin.
- Flow: condition → roll → cut → drill → bake → sand 600→1200→3000 → buff → attach bail.
- Tip: use a template window to frame the prettiest part of the slab before cutting.
Textured botanicals with highlighted relief
- Look: pressed leaf or fabric texture, gently shaved for faux stone relief.
- Flow: texture → cut → shave high points → drill → bake → light sand → satin seal (optional).
- Mistake to avoid: over-deep textures that create sharp ridges at edges.
Mica-shift geometric
- Look: ghost pattern appears beneath a flat surface.
- Flow: metallic clay → heavy conditioning → texture → shave → cut → bake → high polish.
- Tip: shave with a fresh, flexible blade to avoid gouges.
Marble/terrazzo slab
- Look: controlled streaks or speckled chips set in a colored base.
- Flow: pre-mix chips or marbled log → compress into slab → cut → drill → bake → sand/finish.
- Tip: keep chips thin to avoid weak inclusions.
Troubleshooting common pendant issues
| Problem | Likely cause | Fix now | Prevent next time |
|---|---|---|---|
| Cracks after cure | Under-conditioning; underbake | Patch with liquid clay and rebake | Condition fully; verify oven temp |
| Scorching/dark spots | Hot spots; uncovered bake | Light sand; re-surface if needed | Use foil tent; tile; thermometer |
| Ragged edges | Dull cutters; stretched slab | Chill and recut; sand smooth | Sharpen tools; let slab rest 5 min |
| Hole tearing | Hole too near edge; too small | Drill out incrementally; add metal eyelet | Respect safe distance; plan holes first |
| Sticky sealer | Incompatible finish; thick coat | Strip and re-seal thinly | Test on scrap; ultra-thin coats |
Safety and workspace habits for clean results
- Use a dedicated oven or a lined toaster oven; ventilate well.
- Keep raw and cured areas separate to avoid dust and fingerprints.
- Wipe tools between colors to prevent muddying bright palettes.
Material planner and cut list for three pendant projects
| Project | Target size | Thickness | Surface | Hardware | Finishing | Notes |
|---|---|---|---|---|---|---|
| Satin slab oval | 28×36 mm | 2.8–3.0 mm | None (buffed) | 5 mm jump ring + slim bail | 600→3000→buff | Back bevel for comfort |
| Botanical rectangle | 22×40 mm | 3.0 mm | Fabric texture + shave | Embedded eye pin | 800→1500; satin seal | Keep texture shallow at edges |
| Mica-shift triangle | 32 mm side | 3.2 mm | Ghost pattern | Post-drill 2.0 mm | Micro-mesh 4000→12000 | Blade shaving practice |
Step-by-step build: from raw block to finished pendant
Preparation
- Sketch 2–3 shapes; decide surface technique and hanger style (hole vs. bail).
- Condition 30–40 g of clay; set pasta machine to the thickness that yields ~3 mm.
- Clean tile and hands to avoid lint; dust tools sparingly if texturing.
Forming and surface
- Roll slab; let rest 5 minutes (reduces springback and distortion).
- Add surface: texture, mica shift, or marbling.
- Cut shapes; remove waste; refine edges gently while raw.
- Mark and create holes or embed eye pins at a slight back angle.
Curing
- Transfer pieces on parchment over tile; foil-tent; confirm oven temperature.
- Bake per brand guidance; allow slow cool to room temperature before moving.
Finishing
- Wet-sand 600→3000; add micro-mesh to taste; buff.
- Seal only if media requires it; let cure fully.
- Attach hardware with properly closed jump rings; add chain or cord.
Edge cases and creative variations
- Inset stone or cabochon: press stone into raw slab to mark; carve a shallow seat; bake stone separately if heat-sensitive; glue after finishing.
- Hollow-back large pendant: cut a back panel and a raised rim; join with liquid clay; this reduces weight while keeping a thick edge.
- Two-layer color trap: cut a window in the top sheet and place over a patterned sheet; compress lightly to bond before cutting the final outline.
Glossary of clay-jewelry terms
| Term | Definition | Where it matters |
|---|---|---|
| Conditioning | Working clay to distribute plasticizers | Strength, crack prevention |
| Mica shift | Ghost pattern in metallic clays after shaving texture | Flat yet patterned surfaces |
| Bevel | Slight angle sanded around the back edge | Comfort and profile |
| Foil tent | Loose foil cover during baking | Prevents scorching and darkening |
Quality control before first wear
- Seam test: finger across ring seams—no gaps or burrs.
- Tug test: gentle pull on bail and hole area; no flex or crackle.
- Glide test: pendant moves smoothly on chain/cord; no edge snags.
- Skin test: rub a soft cloth over edges and back; snag-free and comfortable.
- Colorfast test: if inks/paints used, damp swab on back—no lift of color.
