
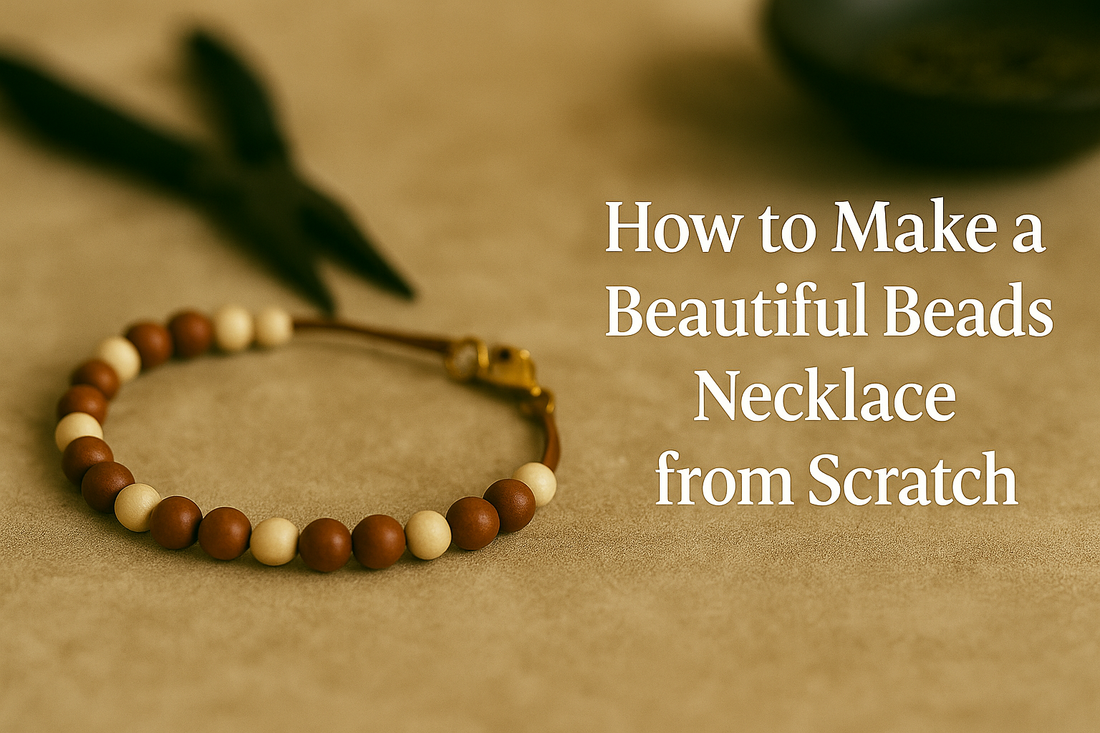
How to make a beautiful beads necklace from scratch
This tutorial teaches a reliable, repeatable workflow for crafting a beads necklace from zero: choosing tools and cords, measuring neck sizes and drape, building a color palette and bead sequence, laying out on a bead board, stringing with professional crimps or hand knots, attaching clasps securely, and finishing cleanly.
Eight inline diagrams appear exactly where needed to illustrate the steps.
Necklace styles, lengths, and measurement for comfortable drape
Great fit starts with the wearer’s neck circumference and the intended length category. Consider clothing necklines and where the focal bead should rest. Add allowance for clasp hardware and for the natural curve around the collarbones.
Common length categories
- Choker (35–40 cm / 14–16″): sits high; perfect for dainty patterns and light beads.
- Princess (43–48 cm / 17–19″): versatile everyday length; centers a focal nicely.
- Matinée (50–60 cm / 20–24″): suitable for larger beads and layered looks.
- Opera (70–90 cm / 28–36″): drapey strands; consider weight distribution.
Measure and compute cut length
- Measure neck at the base with soft tape; note preferred ease (0.5–2 cm).
- Select target category and final length.
- Compute stringing length = final length − clasp assembly length (usually 2–3 cm).
Length planner
| Style | Final length | Typical clasp length | Stringing length | Notes |
|---|---|---|---|---|
| Choker | 38 cm | 2.5 cm | 35.5 cm | Light beads; add extension chain |
| Princess | 46 cm | 2.5 cm | 43.5 cm | Most patterns and focals |
| Matinée | 55 cm | 2.5 cm | 52.5 cm | Consider weight distribution |
Selecting beads, accents, and a cohesive color palette
Mix textures and sizes for visual rhythm: matte vs. glossy, opaque vs. translucent, metal accents for sparkle. For comfort and durability, keep heavy beads near the center and transition to lighter spacers toward the clasp.
Bead types and their roles
- Glass rounds/faceted: clean sparkle; stable sizes for precise patterns.
- Gemstones: weighty focal points; check hole size for wire vs. thread.
- Seed beads: micro-spacing, pattern control, and delicate edging.
- Metal spacers: define repeats, add structure, and protect against bead-on-bead abrasion.
Hole and string-mate table
| Bead size | Typical hole | Best stringing option | Notes |
|---|---|---|---|
| Seed 11/0 | ~0.8 mm | Nylon/FireLine 0.12–0.15 mm | Use beading needle |
| 4–6 mm glass | ~0.9–1.0 mm | Beading wire 0.38–0.46 mm | Crimp finish is ideal |
| 8–10 mm gemstones | ~1.0–1.2 mm | 0.46–0.5 mm wire or silk #4–#6 | Knotting recommended |
Stringing materials and when to choose each
Pick the string system that suits bead size, weight, and desired flexibility. Beading wire (woven stainless with nylon coating) offers strength and kink resistance; silk/nylon thread allows elegant hand-knotting between beads; microcords work for large-hole beads.
Comparison
| Material | Strength | Look/feel | Best for | Finish |
|---|---|---|---|---|
| Beading wire | High | Smooth, semi-rigid | Glass/gemstone 4–10 mm | Crimps + covers |
| Silk thread | Medium | Supple drape | Pearls, gemstones (knotting) | Clamshells/guards + knots |
| Microcord | High | Soft but tough | Large-hole wood/ceramic | Knots + end cones |
Layout and pattern planning on a bead board
The bead board keeps patterns symmetric and helps you preview proportions before cutting wire. Use the center zero mark for the focal, then mirror left and right. Mix sequences like “3–1–3 spacer” or “2 faceted + 1 metal” to create rhythm.
Workflow on the board
- Set target length using the outer track measurements.
- Place the focal at center zero; build out repeats in mirrored pairs.
- Insert small spacers to fine-tune length without changing the look.
Common repeat patterns
- Even pulse: 6 mm bead + metal spacer (repeat).
- Growing pulse: 4–6–8–6–4 with tiny spacers between.
- Accent bar: 3 × seed beads separating larger stones.
Stringing on beading wire with professional crimps
Beading wire with crimps creates a clean, durable finish and works for most glass and gemstone beads. Two small parts—crimps and wire guards—protect the wire and keep the clasp connection neat.
Step-by-step crimping
- Cut wire: stringing length + 10 cm allowance.
- Attach first side: crimp → wire guard → clasp ring; pass the wire back through the crimp and a few beads.
- Crimp firmly (first “crimp” station to fold, second “round” station to shape); add a crimp cover if desired.
- String beads following the board layout.
- Finish second side similarly; keep a tiny breath of slack so the strand drapes naturally.
Tips for clean crimps
- Use crimp size that matches wire diameter; too large slips, too small crushes the jacket.
- Seat wire fully in the guard channel; keep guard aligned with clasp ring for even wear.
Hand-knotting between beads on silk or nylon
Knotting adds elegance, space, and safety (if the strand breaks, beads don’t all slide off). It shines with pearls and gemstones. Consistent knot size is the entire game: practice on offcuts before the real strand.
Knotting sequence
- Anchor the first bead using a clamshell or French wire (bullion) to the clasp ring.
- String two beads; tie an overhand knot snugged against the last bead using a beading awl or tweezers to seat the knot tightly.
- Repeat: bead → knot → bead → knot until finished length.
- Terminate with a second clamshell or French wire to the other clasp side; add a dot of glue inside the clamshell if the manufacturer recommends.
Consistency tips
- Pull along the strand—not sideways—to avoid spacing gaps.
- Switch to a slightly thicker thread if knots slip into bead holes.
Attaching clasps and extension chain cleanly
A secure, comfortable clasp is the difference between “handmade” and “hand-finished.” Choose a clasp that suits bead size and weight: lobster clasps pair well with short extenders; toggles look classic on medium to heavier strands.
Options
- Lobster + extender: flexible sizing, sleek look.
- Toggle: easy to fasten; needs enough weight to stay closed.
- Magnetic: convenient; pick strong jewelry-grade magnets.
Assembly checklist
- Align both ends before the final crimp/knot to keep the focal at center.
- Close jump rings completely; solder closed for heavy strands.
Building the necklace: complete, detailed sequence
Follow this end-to-end flow for a polished strand that hangs beautifully and lasts through daily wear.
Preparation
- Lay out the entire pattern on the bead board, centered and mirrored.
- Trim wire/thread to the calculated stringing length plus allowance.
- Pre-open jump rings (twist, don’t pull apart) and set the clasp pieces within reach.
Stringing and finishing on wire
- Slide a crimp, wire guard, and clasp ring onto one end; return the tag end through the crimp and two beads.
- Crimp using the two-step method; add a cover if desired; trim the tag end flush after hiding it inside beads.
- String the full pattern; check length against the board markers.
- Finish the second side with crimp → guard → clasp half. Leave slight flexibility so the strand arcs naturally on the neck.
Stringing and finishing on knots
- Attach clamshell and clasp; start with two beads; tie the first knot snug to the second bead.
- Alternate beads and knots until near the target length; test drape on the neck or a display bust.
- Terminate with the second clamshell; add a micro drop of adhesive inside the shell if recommended; close neatly.
Pattern variations that elevate a basic beads necklace
Small design tweaks transform a simple strand into a signature piece without adding complexity.
Three easy upgrades
- Focal drop: Add a small pendant or charm at center using a bail or jump ring through a spacer bead.
- Gradient: Shift from light to dark with equal bead sizes for a seamless color flow.
- Metal pulses: Insert tiny metal rondelles every 3–5 beads to sharpen rhythm.
Spacing and symmetry table
| Pattern | Recipe | Visual effect | Where it shines |
|---|---|---|---|
| Pulse | 6 mm bead + spacer (repeat) | Even sparkle | Daily wear strands |
| Mirror focal | 3–5–7–focal–7–5–3 | Weight to center | Gemstone focals |
| Gradient | Light → medium → dark | Color flow | Glass rounds |
Quality checks and micro-adjustments before first wear
Quick inspections prevent future repairs. The strand should arc naturally, the clasp should be easy to operate, and beads should move freely without exposing wire near the focal.
Five checks
- Arc test: lay the necklace in a gentle U; it should curve without kinks.
- Crimp integrity: tug each end gently; no slipping.
- Knot spacing: knots should sit snug to beads with uniform gap.
- Clasp action: operate with one hand; jump rings fully closed.
- Balance: focal sits at center and doesn’t rotate the strand.
Troubleshooting common issues in beads necklace making
Most problems stem from sizing mismatches or rushed finishing. Diagnose quickly with the table and apply targeted fixes.
| Problem | Likely cause | Fix now | Prevent next time |
|---|---|---|---|
| Wire visible between beads | Too much slack; spacer mismatch | Reopen last crimp; remove 1–2 mm slack; add small spacers | Check drape before final crimp |
| Crimp slips | Crimp too large; wrong plier station | Replace with correct size; fold then round | Match crimp to wire diameter |
| Strand kinks | Overtight after final crimp | Reopen; add 1–2 mm slack; re-crimp | Arc-test before closing |
| Knots pull into holes | Thread too thin; hole too large | Use larger thread or add tiny seed spacer | Test on 3 beads before full string |
| Clasp twists strand | Guard misaligned; ring too small | Realign guard; upsize ring | Dry-fit hardware before crimping |
Care and longevity for beaded necklaces
Treat the necklace like a favorite garment: last on when dressing, first off at night. Store flat or hung to preserve the curve; avoid chemicals and prolonged moisture. For silk-knotted strands, expect a gentle re-tightening service after long wear if gaps appear.
Routine care
- Wipe with a soft cloth after wear.
- Store in a pouch or compartmentalized tray to prevent abrasion.
- Keep away from perfumes and sprays; apply them before putting the necklace on.
Practice drills to build speed and consistency
Short sessions lift your quality rapidly and make future builds predictable.
15-minute drills
- Crimp practice: make five crimped loops on scrap wire; pull test each and note pressure that holds.
- Knot spacing: string ten 6 mm beads with knots; aim for identical gap every time.
- Pattern mirror: build a mini board layout for 20 cm; check symmetry by bead count and by visual rhythm.
Materials planner and cut list for popular recipes
Use this planner to estimate wire/thread, hardware, and bead counts for three common designs. Adjust counts after your first mock layout.
| Design | Length | Stringing | Bead recipe (center → ends) | Hardware | Notes |
|---|---|---|---|---|---|
| Everyday pulse | 46 cm | 0.46 mm wire | 6 mm glass + 2 mm metal spacer (repeat), optional 10 mm focal | 2 crimps + 2 covers + 2 guards, lobster + 5 cm extender | Keep spacer stock handy for micro length tweaks |
| Knotty gemstones | 43 cm | Silk #4–#6 | 8 mm gemstones, knots between each, metal accent every 5 beads | 2 clamshells/French wire, lobster or toggle | Practice knot size before live strand |
| Gradient glass | 55 cm | 0.38–0.46 mm wire | 4–6 mm rounds transitioning light→dark with tiny seeds as dividers | Crimps + guards, lobster + extender | Lay the gradient fully on board first |
Glossary of necklace-making essentials
| Term | Meaning | Where used |
|---|---|---|
| Crimp | Soft metal tube flattened to lock beading wire | At each clasp end |
| Wire guard | U-shaped channel protecting wire at hardware | Between wire and clasp ring |
| Clamshell | Shell finding hiding knots and connecting to rings | Knotting finishes |
| Crimp cover | Cap that disguises a flattened crimp | Final detailing |
| Bead board | Grooved tray with measurements to plan patterns | Before stringing |
Complete step-by-step summary checklist
- Choose target length and style; measure neck and compute stringing length.
- Select beads and spacers; group by size, weight, and color for a cohesive palette.
- Pick stringing method (wire + crimps, or silk/nylon knotting) that suits bead holes and weight.
- Lay out the entire pattern on a bead board, centered at zero and mirrored.
- Prepare hardware (clasps, jump rings, guards, crimps, clamshells); pre-open rings.
- String and finish the first end (crimp/guard on wire, or clamshell on thread); confirm alignment.
- String the full pattern; verify length and arc; adjust with small spacers if needed.
- Finish the second end; ensure a breath of slack for a natural drape; test clasp action.
- Run quality checks: arc, crimp strength, knot spacing, focal balance, and ring closure.
- Record bead counts, spacer locations, wire/thread sizes, and clasp details for repeatable results.
